There’s something timeless about pulling a warm, crusty loaf of artisan bread from your oven. My love for baking began with my grandmother’s kitchen in Minnesota, where she taught me the magic of simple ingredients—flour, water, yeast, and salt—coming together into something extraordinary. Her hands moved with purpose, and the scent of freshly baked bread filled the air. That’s where my obsession with perfecting an artisan bread recipe truly started.
In this guide, we’re diving deep into the soul of homemade artisan bread: what makes it special, how to get the crust just right, why the crumb matters, and how you can nail this recipe even if you’ve never baked a day in your life. I’ll share tips learned from trial and error, practical steps, and answers to common questions. You’ll also discover internal resources like my cheesy breadsticks recipe and garlic swirl rolls that complement this bread beautifully.
Whether you’re prepping for a cozy dinner or mastering a weekend bake, this artisan bread recipe will become your go-to staple. Let’s get started.
Why Artisan Bread Feels Like a Lifestyle
The Crust That Tells a Story
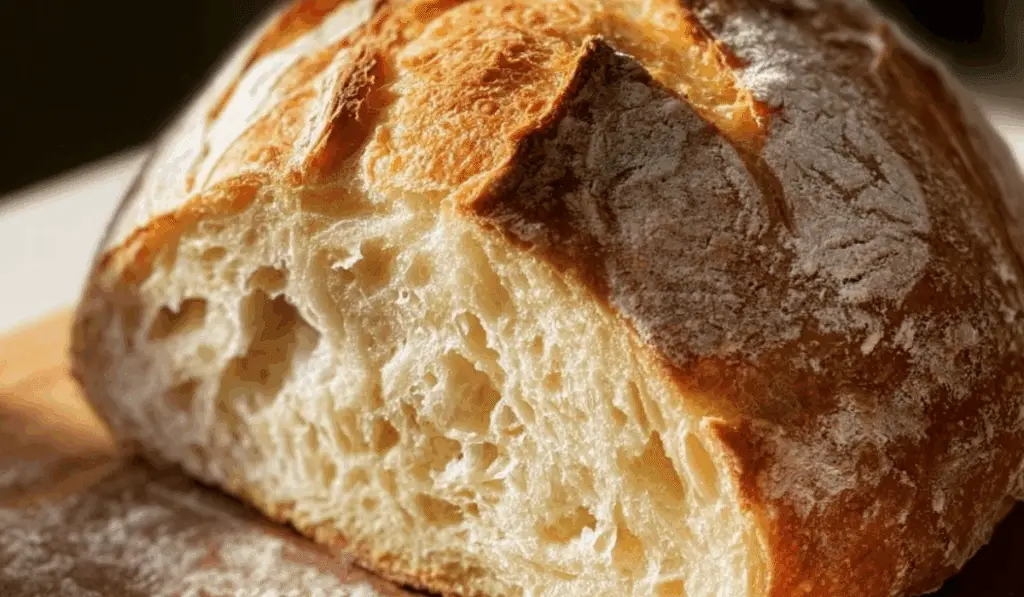
One of the things that sets an artisan bread recipe apart from your average loaf is the crust. A golden, blistered crust isn’t just visually stunning—it’s a sign of proper fermentation, high oven heat, and steam. Achieving that signature crunch requires a Dutch oven or baking stone, which traps steam and elevates the bake. My own breakthrough came the first time I baked inside a preheated Dutch oven and heard that crisp crackle as it cooled. Pure magic.
To boost crust quality, resist cutting corners. Bake at high heat (450°F), use proper scoring for expansion, and never skip the preheat. If you’ve got a sweet tooth, pair your savory crust with something like lemon zucchini bread for a perfect meal balance.
Print
Artisan Bread Recipe That Transforms Your Home Baking Game
This no-knead Artisan Bread Recipe delivers a golden crust, chewy crumb, and deep flavor with just 4 ingredients and time.
- Total Time: 14 hours (including fermentation)
- Yield: 1 large loaf 1x
Ingredients
- 3 cups bread flour
- 1.5 cups warm water
- 1 tsp salt
- 0.25 tsp instant yeast
Instructions
- In a large bowl, mix flour, salt, and yeast.
- Pour in warm water and stir into a sticky dough.
- Cover and let rise 12–18 hours at room temperature.
- Preheat oven to 450°F with Dutch oven inside.
- Turn dough onto floured surface, shape into ball, and rest 30 minutes.
- Place dough in Dutch oven, score top, and bake covered for 20 minutes.
- Uncover and bake an additional 25 minutes.
- Cool on wire rack for at least 1 hour before slicing.
Notes
- For extra flavor, refrigerate the dough overnight.
- You can add herbs, olives, or cheese after the first rise.
- Store wrapped in a towel at room temp or freeze slices.
- Prep Time: 10 minutes
- Cook Time: 45 minutes
- Category: Bread
- Method: Baking
- Cuisine: European
- Diet: Vegetarian
Nutrition
- Serving Size: 1 slice
- Calories: 150
- Sugar: 0g
- Sodium: 290mg
- Fat: 0.5g
- Saturated Fat: 0g
- Unsaturated Fat: 0.5g
- Trans Fat: 0g
- Carbohydrates: 30g
- Fiber: 1g
- Protein: 5g
- Cholesterol: 0mg
Flour, Water, Salt, Yeast—and Time
Artisan bread’s flavor doesn’t come from fancy ingredients; it comes from fermentation. Time is your best friend here. A long cold ferment (typically 12–24 hours) allows complex flavors to develop, which is what gives that deep, rich aroma we all associate with bakery-level bread.
Use bread flour for its high protein content—it forms stronger gluten strands. For yeast, you can use instant, active dry, or even a sourdough starter. The key is letting it rest long enough. You’ll be amazed how this process contrasts with faster bakes like the banana bread cinnamon rolls that rely on quick leavening.
How to Master the Dough—No Kneading, No Problem
Hydration is the Hero
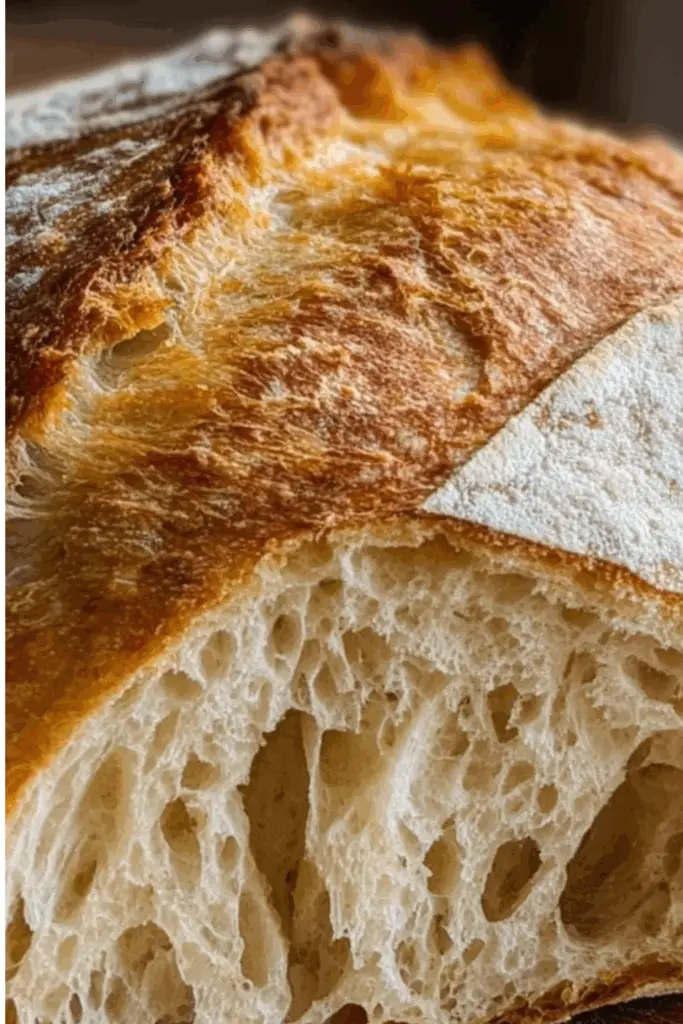
You’ll often hear artisan bakers mention hydration percentages, and it matters. A good artisan bread recipe will have a hydration level between 70–80%. That means more water than standard doughs, resulting in a stickier texture that creates those beautiful open crumbs.
This type of dough is usually too wet to knead traditionally. Instead, you’ll use a method called “stretch and fold” every 30 minutes during bulk fermentation. It strengthens gluten without overworking the dough. It might feel alien at first, but you’ll soon find it easier than trying to conquer drier batters like in a shortbread cookies recipe.
Bulk Fermentation and Proofing Explained
Bulk fermentation happens right after mixing and before shaping. Let your dough rise at room temperature for several hours, depending on ambient conditions. You’ll know it’s ready when it doubles and has bubbles on the surface.
After shaping, proof your dough again. This second rise is crucial to achieving that lofty interior. For best results, cold-proof it overnight in the fridge. This method also improves scoring and oven spring. If you’re looking for something faster while this ferments, whip up soft Danish butter cookies for a sweet intermission.
Baking to Perfection Without a Commercial Oven
Scoring: Not Just for Looks
Scoring isn’t optional—it’s essential. When you slash your dough right before baking, you’re directing how it expands. Without it, you’ll get burst loaves or flat tops. Use a sharp blade or a bread lame and go in at a slight angle. A simple curved slash or an “X” can dramatically change the appearance.
Mastering scoring gives your artisan bread recipe that bakery finish. Don’t stress if your first few look rough. As you grow confident, you’ll develop a style that makes each loaf uniquely yours. While you’re learning, you can distract guests with an easy showstopper like coffee cake for dessert.
Baking Vessels Matter
The best investment for this recipe? A Dutch oven. Its thick walls and tight lid trap moisture, allowing your dough to steam and expand properly. No Dutch oven? Try a heavy-duty cast iron skillet with a metal bowl covering the dough—DIY steam chamber.
Bake at 450°F for 20 minutes with the lid on, then remove the lid and finish baking until golden brown—usually another 20–25 minutes. Your house will smell divine, and the loaf will sing as it cools. While it bakes, consider prepping fluffy cottage cheese cloud bread for a gluten-free backup option.
Final Touches That Turn a Good Loaf into Greatness
Cooling: The Most Underrated Step
Yes, you need to wait. As tempting as it is to cut into hot bread, it’s vital to let your artisan bread recipe cool for at least an hour. Why? Because the steam inside is still working its magic—cutting too soon releases moisture and results in a gummy texture.
Set your loaf on a wire rack and listen to the crackling crust cool. If you’re looking to enhance the experience, serve it alongside garlic butter bread rolls at the dinner table.
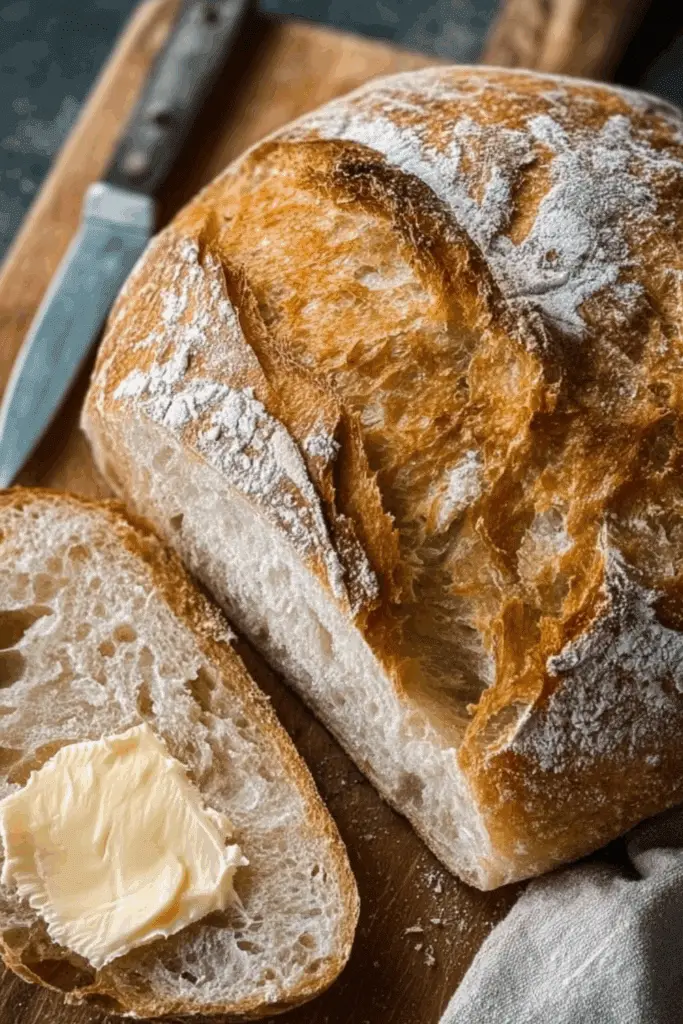
Storage and Slicing for the Win
Once cooled, store your bread cut side down on a wooden board, wrapped in a clean towel. Avoid plastic bags—they soften the crust. For longer storage, freeze slices in airtight bags and reheat in a toaster or oven.
When slicing, use a serrated knife and go slow. Pair your artisan slices with everything from soups to spreads. And for the next level, turn leftovers into croutons or French toast. Complement it with recipes like olive garden breadsticks for variety on your table.
Serving Up the Final Words
This artisan bread recipe isn’t just about flour and water—it’s about slowing down, connecting with tradition, and creating something soulful from scratch. With a few tools, a bit of practice, and plenty of patience, you’ll be amazed at what you can pull from your oven. Whether you’re feeding a crowd or enjoying a quiet Sunday morning, artisan bread fits every table and every story. Let this be the recipe that starts yours.
Frequently Asked Questions
How do I get the perfect crust on my artisan bread?
Use a Dutch oven, preheat thoroughly, and don’t skip the steam. High heat and proper scoring help too.
Can I make an artisan bread recipe with all-purpose flour?
Yes, though bread flour is better. All-purpose will work but may result in a slightly softer crumb.
Why is my artisan bread flat?
It could be over-proofed or under-scored. Also, make sure your oven is hot enough and you’re using steam properly.
Can I add flavors like herbs or cheese to this recipe?
Absolutely. Add-ins like rosemary, olives, or sharp cheddar can be folded in after the first rise for delicious variations.