
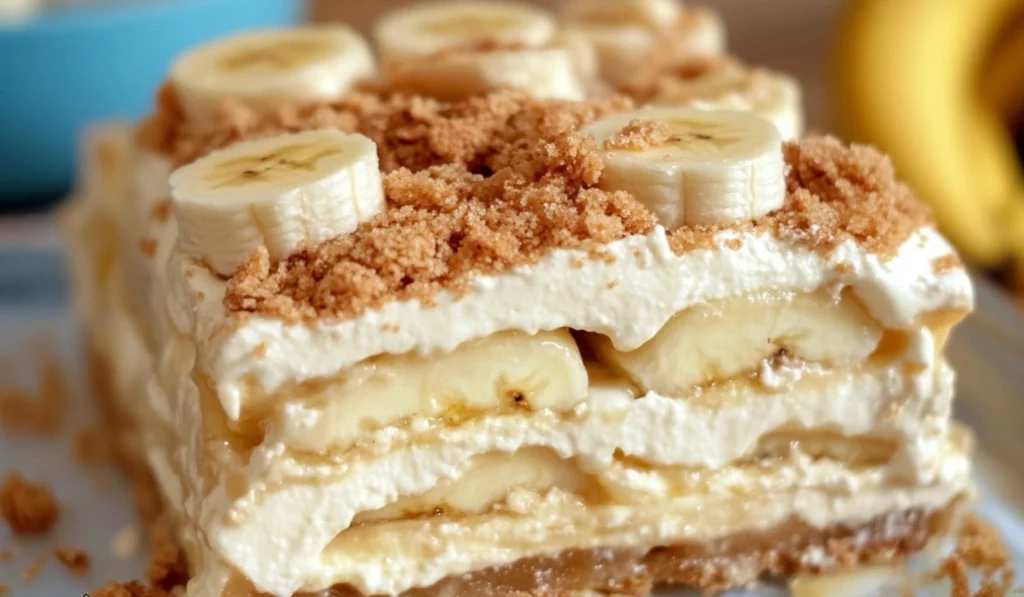
Banana pudding has long been a beloved dessert in many households, evoking memories of family gatherings, summer barbecues, and comforting moments at the kitchen table. But what if you could elevate this classic treat into something even more indulgent and eye-catching? Enter Banana Pudding Lasagna—a dessert that takes all the delicious flavors of banana pudding and transforms them into a visually stunning, no-bake lasagna form. This twist on a beloved dessert isn’t just about presentation—it’s also about creating layers of creamy, dreamy goodness that will melt in your mouth.

Banana Pudding Lasagna: A Beginner’s Guide to Making the Ultimate Ice Box Dessert
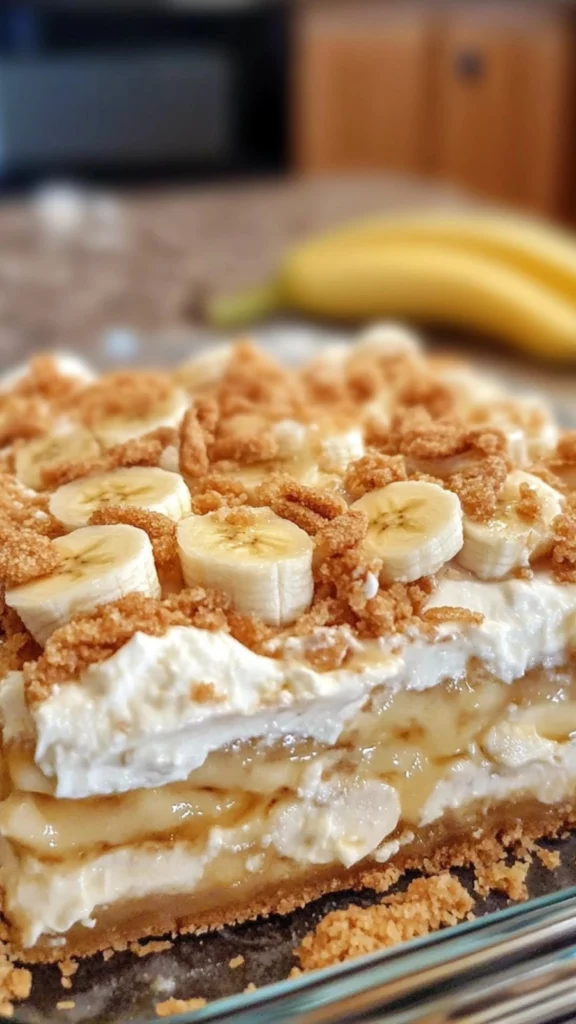
Banana pudding is a classic dessert that brings comfort and nostalgia, but Banana Pudding Lasagna takes it to a whole new level. Combining creamy cheesecake layers, fresh bananas, and crunchy vanilla wafers, this no-bake dessert is as easy to make as it is delicious. Perfect for beginners, it’s simple to prepare and can be made ahead of time, making it ideal for any occasion. If you’re looking for a crowd-pleasing treat with minimal effort, this recipe is your go-to!
- Total Time: 2 hours 20 minutes
- Yield: 12 servings 1x
Ingredients
For the crust:
- 2 – 11 oz boxes of vanilla wafers
- 6 tbsp butter, melted
For the cheesecake layer:
- 2 – 8 oz packages of cream cheese
- 3/4 cup sugar
- 2 cups heavy whipping cream
- 1 tsp vanilla extract
- 1 – 3.4 oz box of banana pudding mix
- 1 3/4 cups milk (whole milk is preferred for the creamiest texture)
- 5 large bananas, sliced
Instructions
1. Prepare the crust:
- Start by crushing one box of vanilla wafers. To do this, place the wafers in a food processor or blender and pulse until the wafers are finely crushed. If you don’t have a food processor, you can also place the wafers in a zip-top bag and crush them with a rolling pin.
- Once the wafers are finely crushed, transfer the crumbs to a medium-sized mixing bowl and add the melted butter. Stir with a fork until the crumbs are evenly coated with butter.
- Press the crumb mixture into the bottom of your 9×13 baking dish. Use the back of a spoon or your fingers to compact the crumbs tightly. This will form a solid crust that holds the layers together.
- Set the crust aside while you prepare the cheesecake layer.
2. Make the cheesecake layer:
- In a large mixing bowl, use an electric mixer to beat the cream cheese and sugar together on medium speed until the mixture is smooth and fluffy. This will take about 3 minutes. Make sure to scrape down the sides of the bowl so everything gets mixed well.
- Add the heavy whipping cream and vanilla extract to the cream cheese mixture. Beat on high speed until stiff peaks form. Stiff peaks mean that the whipped cream holds its shape when you lift the beaters out of the bowl. Don’t overbeat, as it could turn into butter.
- In a separate bowl, combine the banana pudding mix with the milk. Whisk until the mixture thickens, which usually takes 2 to 3 minutes.
- Once the pudding mixture has thickened, fold it into the whipped cream cheese mixture. Use a spatula to gently stir everything together until it’s well combined. The result should be a smooth, thick, and creamy filling that will form the heart of your lasagna.
3. Assemble the lasagna:
- Take half of the cheesecake mixture and spread it evenly over the vanilla wafer crust. Use a spatula to smooth the mixture into an even layer.
- Next, layer the sliced bananas on top of the cheesecake mixture. Arrange them in a single layer to cover the entire surface. The bananas add a refreshing, natural sweetness that pairs beautifully with the creamy filling.
- Place a layer of whole vanilla wafers over the bananas. Be sure to place them flat to form an even layer. This will add a nice crunch to each bite.
- Spread the remaining cheesecake mixture over the wafers, covering them completely with the creamy filling.
- Add a second layer of sliced bananas on top of the cheesecake mixture. Make sure to cover the entire surface with bananas.
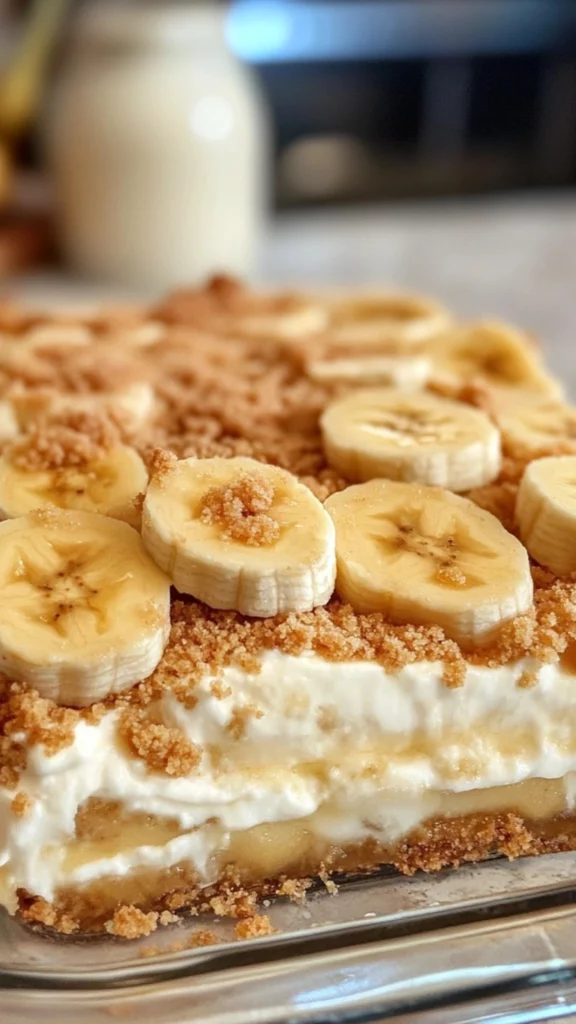
- For the final touch, crush the remaining vanilla wafers into small chunks and sprinkle them over the top of the banana layer. This adds both texture and flavor to the final dessert.
4. Refrigerate and serve:
- Cover the dish with plastic wrap or aluminum foil and refrigerate for at least 2 hours. This chilling time is essential for the layers to set and firm up, making it easier to slice and serve.
- Once the lasagna is chilled and ready to serve, slice it into squares and enjoy. The layers should hold their shape, and each bite will be a perfect balance of creamy, crunchy, and fruity.
Notes
- Preventing a soggy crust: To avoid a soggy crust, make sure to press the vanilla wafer crumbs firmly into the bottom of the baking dish. If the crumbs are loosely packed, the cheesecake filling may cause the crust to become too soft.
- Whipping the cream: Be careful not to overwhip the cream when making the cheesecake layer. You want stiff peaks, but overbeating can cause the cream to separate and turn into butter. If you’re unsure, stop beating once the cream holds its shape.
- Banana freshness: Use bananas that are ripe but still firm. Overripe bananas can become mushy and won’t hold up well in the layers. If you’re worried about browning, you can sprinkle a little lemon juice on the banana slices to prevent discoloration.
- Storage tips: Leftover Banana Pudding Lasagna can be stored in the refrigerator for up to 3 days. Keep it covered with plastic wrap or foil to maintain freshness. It’s also possible to freeze this dessert, but it’s best enjoyed fresh for the best texture.
- Prep Time: 20 minutes
- Cook Time: 2 hours
- Category: Dessert
- Method: No-bake
- Cuisine: American
- Diet: Vegetarian
When I first made Banana Pudding Lasagna, I was searching for a dessert that would impress my guests without taking too much time in the kitchen. I had always loved banana pudding but wanted to do something different. The idea of a no-bake dessert that could be prepared in advance and still look beautiful on the table seemed perfect. As I layered the ingredients and watched the magic happen, I knew this would be a recipe I would return to again and again.
This dessert is particularly perfect for beginners because of its simplicity and ease of preparation. No fancy baking skills are needed, and the ingredients are all easily accessible. The best part? You don’t need to turn on the oven! Whether you’re new to cooking or just looking for a hassle-free dessert to impress friends and family, Banana Pudding Lasagna is an ideal choice.
Not only is this dessert incredibly easy to prepare, but it’s also highly customizable. Whether you prefer to make it a little lighter, or you want to add extra flavor twists, this dessert allows for endless variations. Let’s dive into the recipe and break down exactly how to make this crowd-pleasing treat!
Ingredients and Preparation
To prepare Banana Pudding Lasagna, you’ll need a few basic ingredients. These ingredients come together to form the perfect balance of creamy, crunchy, and fruity layers. Here’s the full list of ingredients to make this indulgent dessert:
For the crust:
- 2 – 11 oz boxes of vanilla wafers
- 6 tbsp butter, melted
For the cheesecake layer:
- 2 – 8 oz packages of cream cheese
- 3/4 cup sugar
- 2 cups heavy whipping cream
- 1 tsp vanilla extract
- 1 – 3.4 oz box of banana pudding mix
- 1 3/4 cups milk (whole milk is preferred for the creamiest texture)
- 5 large bananas, sliced
Alternative Ingredients:
- For a lighter version, consider swapping the heavy whipping cream for half-and-half or coconut cream for a dairy-free alternative.
- If you can’t find vanilla wafers, graham crackers make an excellent substitute. Simply crush them into fine crumbs and use them in the same way as the wafers.
- Want an even creamier texture? Add a tablespoon of sour cream or Greek yogurt to the cheesecake layer to give it a tangy richness.
Once you’ve gathered your ingredients, make sure you have a 9×13 baking dish ready. This dish will give your lasagna the perfect shape and depth for those signature layers. You will also need a blender or food processor to crush the vanilla wafers into fine crumbs, which will form the base for your crust. Now that you have everything in place, let’s move on to the preparation!
Step-by-Step Instructions
This Banana Pudding Lasagna recipe is easy to follow and beginner-friendly. If you’ve never made a no-bake dessert before, you’ll find this process enjoyable and stress-free. Let’s break it down into manageable steps so you can create your own masterpiece!
1. Prepare the crust:
- Start by crushing one box of vanilla wafers. To do this, place the wafers in a food processor or blender and pulse until the wafers are finely crushed. If you don’t have a food processor, you can also place the wafers in a zip-top bag and crush them with a rolling pin.
- Once the wafers are finely crushed, transfer the crumbs to a medium-sized mixing bowl and add the melted butter. Stir with a fork until the crumbs are evenly coated with butter.
- Press the crumb mixture into the bottom of your 9×13 baking dish. Use the back of a spoon or your fingers to compact the crumbs tightly. This will form a solid crust that holds the layers together.
- Set the crust aside while you prepare the cheesecake layer.
2. Make the cheesecake layer:
- In a large mixing bowl, use an electric mixer to beat the cream cheese and sugar together on medium speed until the mixture is smooth and fluffy. This will take about 3 minutes. Make sure to scrape down the sides of the bowl so everything gets mixed well.
- Add the heavy whipping cream and vanilla extract to the cream cheese mixture. Beat on high speed until stiff peaks form. Stiff peaks mean that the whipped cream holds its shape when you lift the beaters out of the bowl. Don’t overbeat, as it could turn into butter.
- In a separate bowl, combine the banana pudding mix with the milk. Whisk until the mixture thickens, which usually takes 2 to 3 minutes.
- Once the pudding mixture has thickened, fold it into the whipped cream cheese mixture. Use a spatula to gently stir everything together until it’s well combined. The result should be a smooth, thick, and creamy filling that will form the heart of your lasagna.
3. Assemble the lasagna:
- Take half of the cheesecake mixture and spread it evenly over the vanilla wafer crust. Use a spatula to smooth the mixture into an even layer.
- Next, layer the sliced bananas on top of the cheesecake mixture. Arrange them in a single layer to cover the entire surface. The bananas add a refreshing, natural sweetness that pairs beautifully with the creamy filling.
- Place a layer of whole vanilla wafers over the bananas. Be sure to place them flat to form an even layer. This will add a nice crunch to each bite.
- Spread the remaining cheesecake mixture over the wafers, covering them completely with the creamy filling.
- Add a second layer of sliced bananas on top of the cheesecake mixture. Make sure to cover the entire surface with bananas.
- For the final touch, crush the remaining vanilla wafers into small chunks and sprinkle them over the top of the banana layer. This adds both texture and flavor to the final dessert.
4. Refrigerate and serve:
- Cover the dish with plastic wrap or aluminum foil and refrigerate for at least 2 hours. This chilling time is essential for the layers to set and firm up, making it easier to slice and serve.
- Once the lasagna is chilled and ready to serve, slice it into squares and enjoy. The layers should hold their shape, and each bite will be a perfect balance of creamy, crunchy, and fruity.
Beginner Tips and Notes
While this recipe is designed to be beginner-friendly, here are a few extra tips to ensure that everything turns out perfectly:
- Preventing a soggy crust: To avoid a soggy crust, make sure to press the vanilla wafer crumbs firmly into the bottom of the baking dish. If the crumbs are loosely packed, the cheesecake filling may cause the crust to become too soft.
- Whipping the cream: Be careful not to overwhip the cream when making the cheesecake layer. You want stiff peaks, but overbeating can cause the cream to separate and turn into butter. If you’re unsure, stop beating once the cream holds its shape.
- Banana freshness: Use bananas that are ripe but still firm. Overripe bananas can become mushy and won’t hold up well in the layers. If you’re worried about browning, you can sprinkle a little lemon juice on the banana slices to prevent discoloration.
- Storage tips: Leftover Banana Pudding Lasagna can be stored in the refrigerator for up to 3 days. Keep it covered with plastic wrap or foil to maintain freshness. It’s also possible to freeze this dessert, but it’s best enjoyed fresh for the best texture.
Serving Suggestions
Banana Pudding Lasagna is delicious on its own, but here are some ideas for enhancing the overall experience:
- Complementary sides: If you’re serving this dessert as part of a larger meal, consider pairing it with a light fruit salad or a refreshing citrus sorbet. These sides can help balance out the rich, creamy layers of the lasagna.
- Make it festive: For special occasions, add a festive touch by garnishing the top of the lasagna with crushed nuts such as pecans or walnuts. These nuts will add extra crunch and a nutty flavor that complements the creamy layers.
- Leftover tips: If you find yourself with leftovers, store them in an airtight container and refrigerate. The flavors will continue to meld together, and the dessert will taste even better the next day.
Conclusion
Banana Pudding Lasagna is the perfect dessert for beginners. It’s simple to prepare, requires no baking, and delivers a deliciously creamy treat that will impress everyone at the table. The layers of vanilla wafers, fresh bananas, and cheesecake filling come together to create a mouthwatering dessert that’s rich, comforting, and unforgettable. Whether you’re making it for a family dinner, a potluck, or just because you have a craving for something sweet, this dessert is sure to be a hit.
By following this recipe and using these tips, even novice cooks can confidently create a show-stopping dessert that will have everyone asking for seconds. Remember, this dessert is also highly customizable—so feel free to get creative and experiment with different flavors and ingredients. If you’ve tried making Banana Pudding Lasagna, I’d love to hear how it turned out for you. Leave a comment below with your thoughts or any variations you made!
Now it’s your turn—grab those ingredients, put on your apron, and make this incredible dessert for yourself. Enjoy the process, and most importantly, enjoy every bite!


