There’s something incredibly comforting about the smell of freshly baked bread wafting through your home. My first attempt at beginner-friendly homemade bread wasn’t perfect—I forgot the salt!—but even with that little hiccup, it was warm, fluffy, and satisfying in a way store-bought bread could never be. I’ve come a long way since then, and trust me, if I can do it, so can you.
This article is your go-to roadmap for baking your very first loaf of beginner-friendly homemade bread with confidence. You’ll discover easy techniques, essential ingredients, and some irresistible flavor twists to keep you baking again and again. Plus, I’ll share some sweet recipe inspiration from around the site to keep your oven busy. Let’s get that dough rising!
Why Beginner-Friendly Homemade Bread Is the Perfect Start
The Comfort of Baking from Scratch
Beginner-friendly homemade bread doesn’t just fill your kitchen with incredible smells—it fills your soul with a sense of achievement. When you mix flour, yeast, water, and a touch of sugar, you’re crafting more than just food. You’re creating a ritual. This kind of baking connects us to generations past, just like the cozy comfort found in treats like softbatch cream cheese chocolate chip cookies, which rely on simple, nostalgic ingredients.
One of the biggest wins? You control what goes into your bread. No preservatives, no unnecessary fillers—just real, wholesome ingredients that create a loaf far better than anything you’ll find in a plastic bag. Beginner-friendly homemade bread offers an amazing way to slow down and focus on the process, making it perfect for weekend baking or teaching kids how ingredients transform.
Print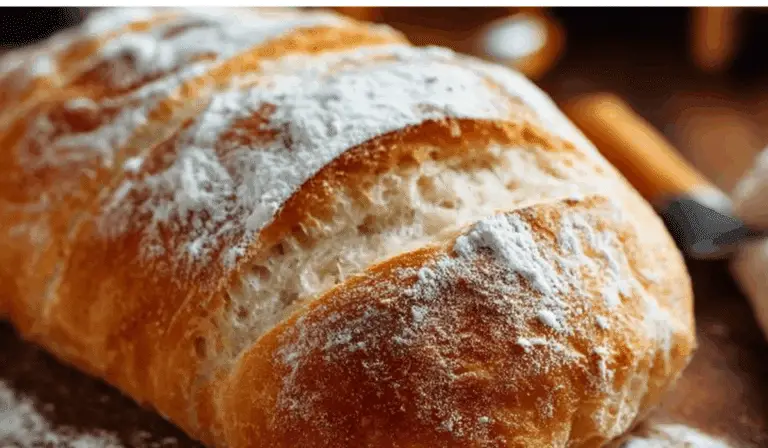
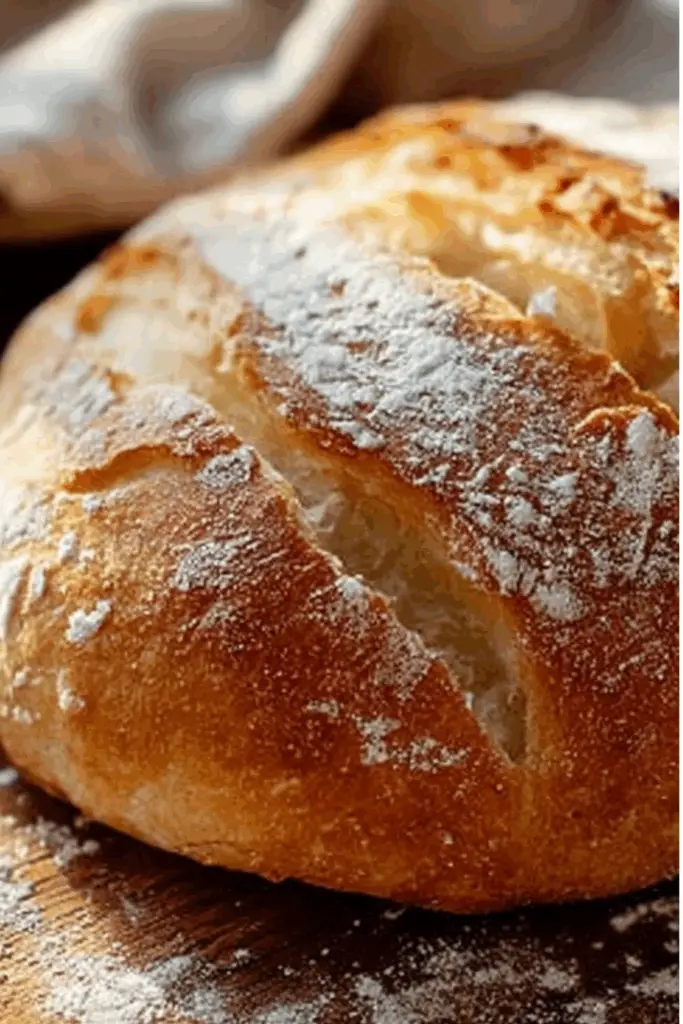
Beginner-Friendly Homemade Bread: The Ultimate Guide for First-Time Bakers
Easy and rewarding beginner-friendly homemade bread perfect for first-time bakers. Soft, fluffy, and delicious every time.
- Total Time: 2 hours
- Yield: 1 loaf 1x
Ingredients
- 3 1/2 cups bread flour
- 2 1/4 tsp instant yeast
- 1 1/2 tsp salt
- 1 tbsp sugar
- 1 1/4 cups warm water
- 1 tbsp olive oil (optional)
Instructions
- In a large bowl, combine flour, yeast, salt, and sugar.
- Pour in warm water and olive oil. Mix until a shaggy dough forms.
- Knead dough for 8-10 minutes until smooth and elastic.
- Place dough in a greased bowl. Cover and let rise for 1-1.5 hours until doubled.
- Punch down, shape into a loaf, and place in a greased pan.
- Let it rise again for 30-40 minutes.
- Preheat oven to 375°F. Bake for 30–35 minutes until golden and hollow sounding.
- Cool on a wire rack before slicing.
Notes
- Use bread flour for better texture.
- Store in a bread box or freeze in slices.
- Add seeds or herbs for flavor variation.
- Prep Time: 15 minutes
- Cook Time: 35 minutes
- Category: Bread
- Method: Baking
- Cuisine: American
- Diet: Vegetarian
Nutrition
- Serving Size: 1 slice
- Calories: 160
- Sugar: 1g
- Sodium: 250mg
- Fat: 2g
- Saturated Fat: 0.3g
- Unsaturated Fat: 1.7g
- Trans Fat: 0g
- Carbohydrates: 30g
- Fiber: 1g
- Protein: 5g
- Cholesterol: 0mg
Why Bread Making Isn’t as Hard as You Think
The phrase “homemade bread” might sound intimidating, but beginner-friendly homemade bread is all about simplicity. We’re not diving into sourdough starters or artisan-level crusts here. Think one bowl, one rise, and easy shaping. Most loaves can be made in under three hours with very little hands-on time.
Beginner-friendly homemade bread gives you maximum satisfaction with minimal stress. If you’ve ever tackled easy treats like a slice of heaven cake, you already know how empowering it feels to make something from scratch. Bread is no different. Once you get that first rise under your belt, you’ll realize how approachable and addicting this kitchen skill can be.
The Ingredients and Tools That Make the Difference
Simple Pantry Staples That Shine
At the heart of beginner-friendly homemade bread are a few essentials: flour, yeast, salt, sugar, and water. These humble ingredients, when combined correctly, produce a chewy crumb and golden crust that’s both rustic and refined. Flour choice matters—bread flour yields the best structure, but all-purpose will still get the job done.
Adding a tablespoon of honey or olive oil can elevate your bread without complicating it. It’s just like how bibingka balances coconut flavor with simple toppings—thoughtful additions make all the difference.
And don’t forget yeast! Instant yeast is the beginner’s best friend. It doesn’t need proofing and shortens rising time, making the process smoother.
Must-Have Tools That Simplify the Process
You don’t need fancy equipment to master beginner-friendly homemade bread. A large mixing bowl, a sturdy spoon or dough whisk, a clean surface for kneading, and a loaf pan are plenty to get started.
However, a few tools can improve your baking experience. A kitchen scale gives accurate measurements, while a digital thermometer helps ensure your bread is fully baked. These tools are just like having the perfect pan for southern peach cobbler—they take a good bake to the next level. A bench scraper is also useful for handling sticky dough without frustration.
Foolproof Techniques for Perfect Beginner-Friendly Homemade Bread
Mixing, Kneading, and Rising Explained
One reason beginner-friendly homemade bread is so accessible is because the process is forgiving. Mixing dough is as simple as stirring until everything is incorporated. Kneading, while it may seem complex, just means folding and pressing the dough for a few minutes to develop gluten.
Once kneaded, place the dough in a warm spot for its first rise. It should double in size—usually within 60 to 90 minutes. Cover with a damp cloth or plastic wrap to keep moisture in. If you’ve made lemon crinkle cookies before, you already understand the magic of waiting for dough to transform.
Shaping and Baking Without Stress
After the first rise, punch the dough down gently to release air. Shape it into a loaf and place it in a greased pan for a second, shorter rise. Slash the top with a sharp knife for both beauty and practicality—this helps control expansion during baking.
Bake your beginner-friendly homemade bread in a preheated oven (usually 375°F to 400°F) for 25–35 minutes until golden brown. Tap the bottom—it should sound hollow. Let it cool completely before slicing, just like you’d wait for hot chocolate lasagna to set properly.
Flavor Twists and Serving Ideas to Make It Your Own
Creative Add-ins to Keep Things Interesting
Once you’ve mastered the basic loaf, get creative! Add shredded cheese, chopped herbs, or even cinnamon and raisins for sweet versions. Beginner-friendly homemade bread doesn’t have to be plain.
Try incorporating seeds like flax, chia, or sesame into the dough or on top for texture and nutrition. It’s the same creative satisfaction you get from making strawberry lemon blondies—a familiar base with a fun twist.
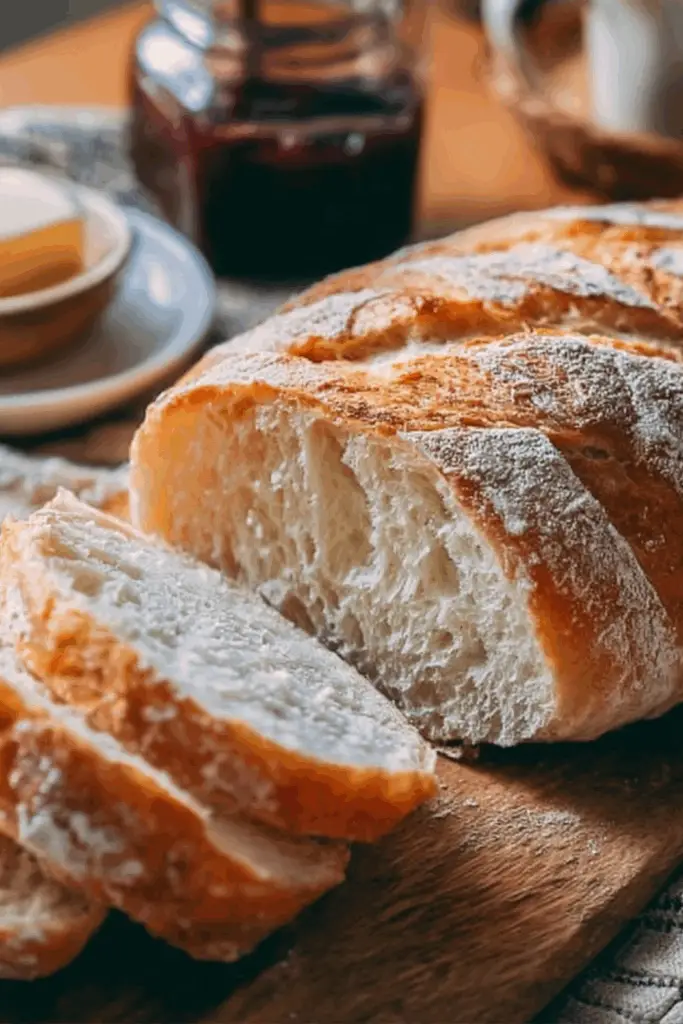
How to Serve and Store Like a Pro
Serve your beginner-friendly homemade bread warm with butter, use it for sandwiches, or toast it with jam. Wrap it in a clean towel or store in a bread box to keep it fresh for up to 3 days. Freeze slices for later and reheat in a toaster.
For gatherings, slice it and serve with olive oil and balsamic vinegar or alongside soups. It’s a cozy pairing similar to enjoying snickerdoodle cobbler on a cold day. Homemade bread is always a conversation starter—and you’ll be proud to say, “I made this myself.”
Serving Up the Final Words
Beginner-friendly homemade bread is more than just flour and yeast—it’s a doorway into the world of baking. Whether you’re shaping your first loaf or experimenting with new flavor combos, the process is deeply satisfying. The best part? You don’t need fancy gear or advanced skills. Just a willingness to try, a few pantry staples, and a warm oven.
The same simplicity that makes easy pumpkin pie twists so appealing applies here: it’s about making something delicious from scratch, with love and care. If you’ve ever made blueberry cream cheese muffins, you already know how rewarding it is to bake something yourself. Homemade bread offers that same joy, bite after bite.
FAQs
How do I know when my homemade bread is done baking?
Tap the bottom of the loaf—if it sounds hollow, it’s fully baked. You can also use a food thermometer; the internal temperature should be about 190°F to 200°F.
What kind of yeast should I use for beginner-friendly homemade bread?
Instant yeast is best for beginners. It doesn’t require proofing and helps your dough rise faster, making the process more beginner-friendly.
Can I make beginner-friendly homemade bread gluten-free?
Yes, but you’ll need to use a gluten-free flour blend designed for bread and possibly adjust hydration and rising times. Try experimenting to get your perfect texture.
How do I store beginner-friendly homemade bread to keep it fresh?
Wrap it in a towel or beeswax wrap and store it at room temperature for up to 3 days. For longer storage, freeze in slices and toast as needed.