
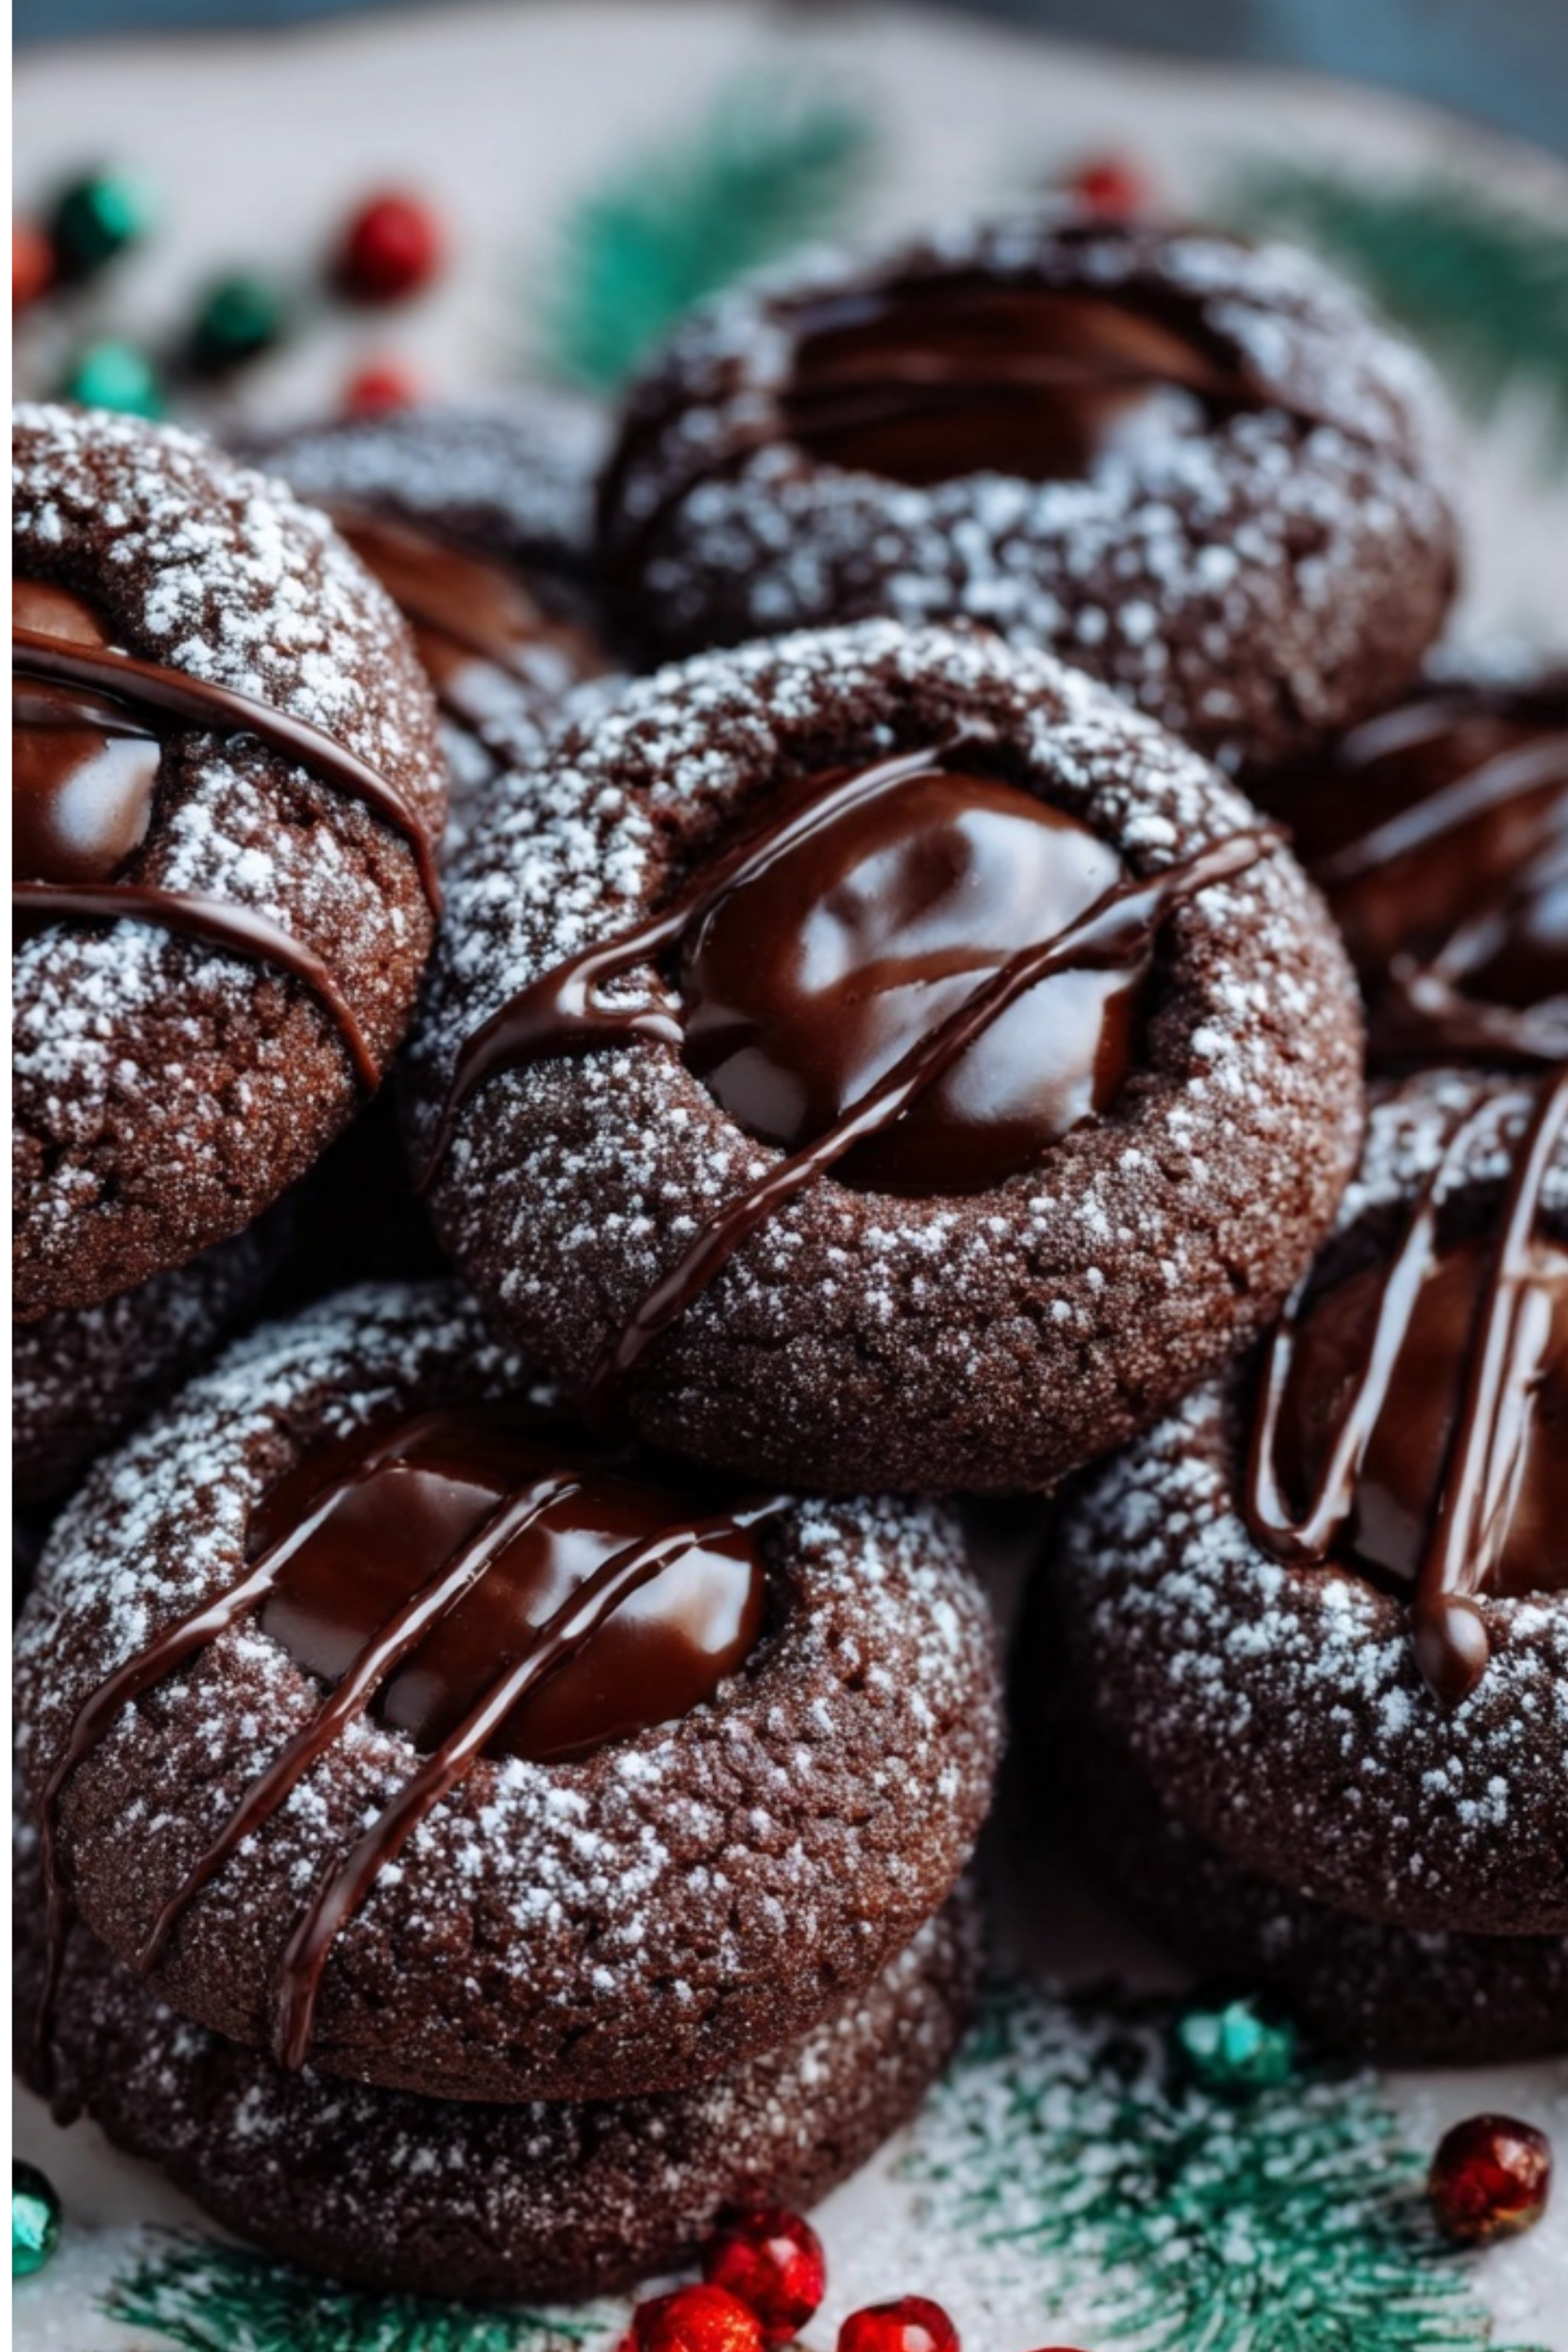
I’ll never forget the first time I bit into a Chocolate Thumbprint Cookie at my grandmother’s kitchen table. It was December, the snow had just started falling, and the smell of vanilla and cocoa filled the air. She’d made a batch just before we arrived for the holidays, and the cookies were still warm. That gooey chocolate center, nestled in a buttery cookie shell, instantly became my favorite. Since then, baking Chocolate Thumbprint Cookies has become a seasonal tradition—and not just for Christmas. They’re that kind of dessert: simple, classic, and irresistible.
In this article, we’ll walk through how to make the perfect Chocolate Thumbprint Cookies from scratch, even if you’ve never baked cookies before. We’ll also explore the best ingredients, pro baking tips, variations for any occasion, and how to store them like a pro. Along the way, you’ll get inspired by other cozy bakes like shortbread cookies and peppermint brownie cookies. Ready to preheat your oven and dive in?
Why Chocolate Thumbprint Cookies Are Everyone’s Favorite
The Charm of a Classic Cookie
Chocolate Thumbprint Cookies aren’t just easy—they’re fun to make. Shaping the dough with your thumb is like giving each cookie a personal touch. The rich chocolate center contrasts beautifully with the soft, buttery base, creating the kind of texture people crave in a homemade cookie. What makes them so appealing is the simplicity: no complex steps, no fancy equipment. Just a few pantry staples and a little bit of heart.
This cookie shines during the holidays but also works year-round. Whether you’re gifting a batch to a neighbor or making a mid-week treat, their versatility wins. Their nostalgic flavor and gorgeous presentation make them a standout at cookie exchanges, much like these festive reindeer cupcakes that double as conversation starters.
Print
Chocolate Thumbprint Cookies: The Ultimate Festive Treat You’ll Bake Again and Again
Rich, buttery chocolate thumbprint cookies with gooey ganache centers—perfect for holidays or everyday treats.
- Total Time: 27 minutes
- Yield: 24 cookies 1x
Ingredients
- 1 cup unsalted butter, softened
- 2/3 cup granulated sugar
- 1 tsp vanilla extract
- 2 cups all-purpose flour
- 1/4 tsp salt
- 1 cup semi-sweet chocolate chips
- 1/4 cup heavy cream
Instructions
- Preheat oven to 350°F (175°C). Line a baking sheet with parchment paper.
- Cream butter and sugar until fluffy. Add vanilla.
- Mix in flour and salt until dough forms.
- Chill dough 30 minutes. Roll into balls and place on baking sheet.
- Make thumbprints using your knuckle or back of a spoon.
- Bake 10–12 minutes until edges are golden. Let cool.
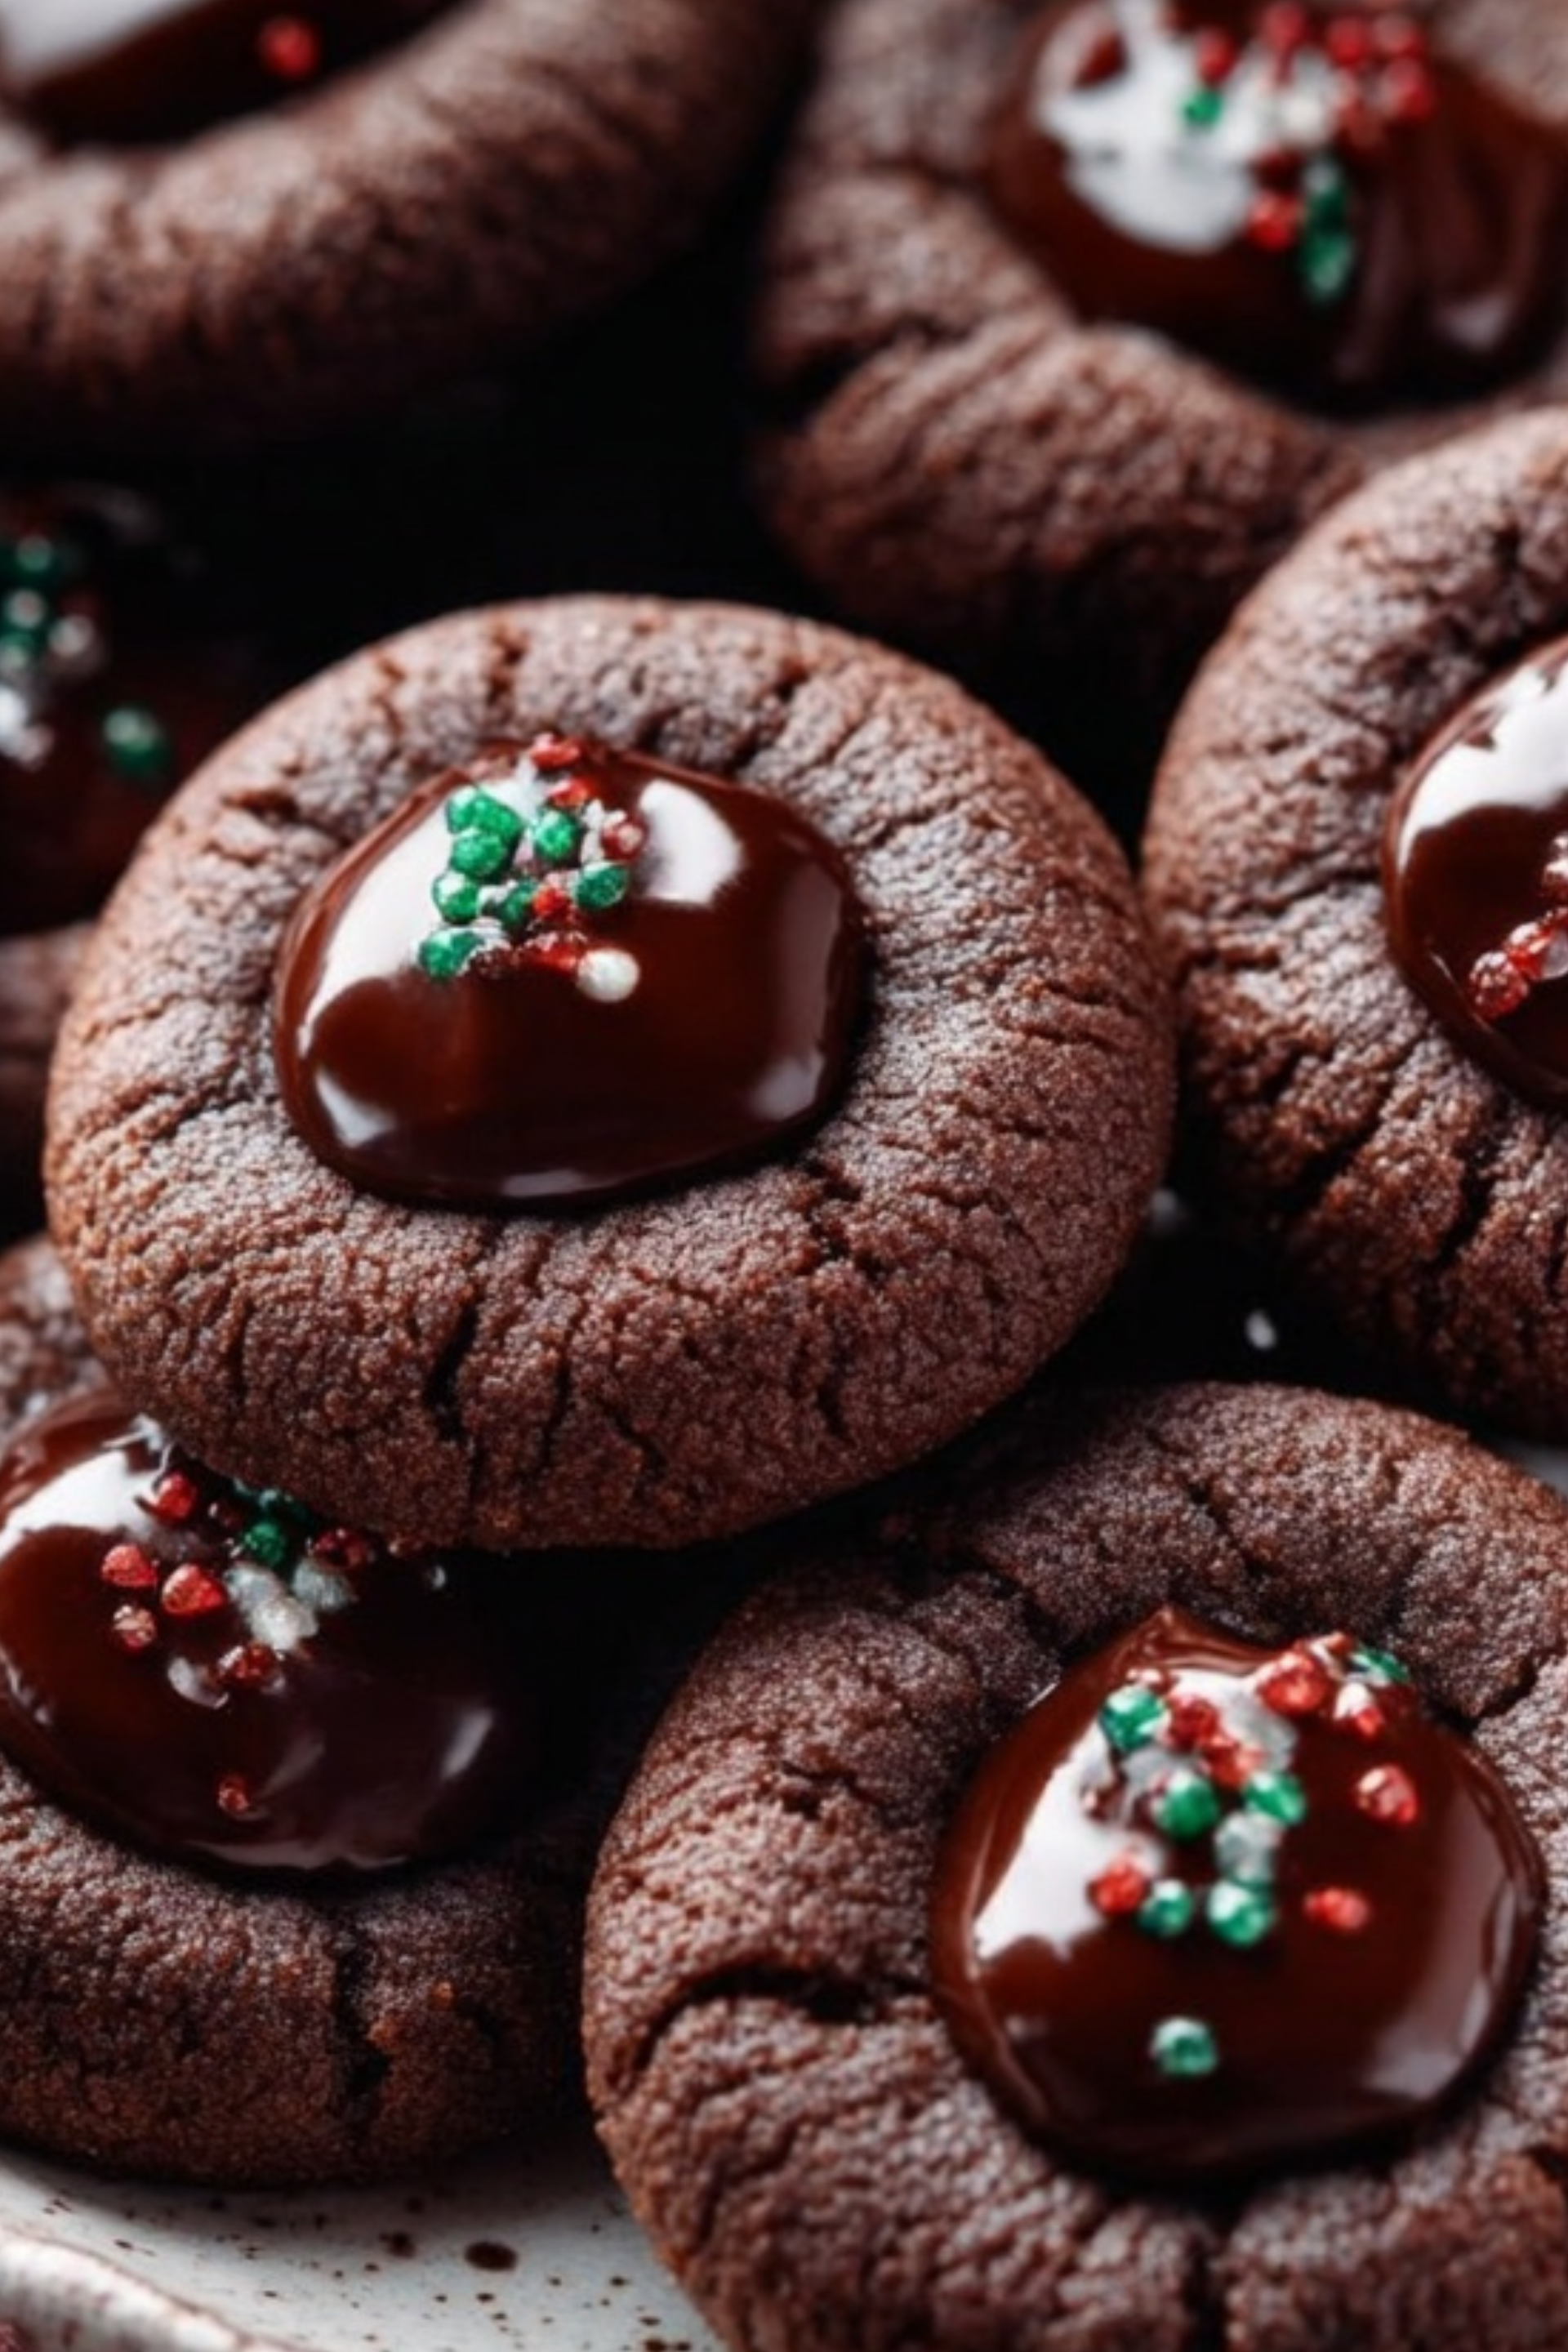
- Heat chocolate and cream to make ganache. Fill centers of cookies.
Notes
- Chill dough to prevent spreading.
- Use dark or milk chocolate as preferred.
- Store in airtight container up to 5 days.
- Prep Time: 15 minutes
- Cook Time: 12 minutes
- Category: Cookies
- Method: Baking
- Cuisine: American
- Diet: Vegetarian
Nutrition
- Serving Size: 1 cookie
- Calories: 120
- Sugar: 7g
- Sodium: 45mg
- Fat: 7g
- Saturated Fat: 4g
- Unsaturated Fat: 2g
- Trans Fat: 0g
- Carbohydrates: 13g
- Fiber: 1g
- Protein: 1g
- Cholesterol: 15mg
What Makes Them Stand Out
What sets Chocolate Thumbprint Cookies apart from other holiday cookies like sugar cookie cheesecake bars or cinnamon sugar blondies is their balanced texture. The exterior bakes to a soft crunch while the center stays fudgy and melt-in-your-mouth good. Add a pinch of sea salt or a sprinkle of crushed candy canes, and you’ve got a gourmet-level dessert with minimal effort.
And let’s be honest—cookies with a literal center of chocolate? That’s a win every time.
The Best Ingredients for Chocolate Thumbprint Cookies
Quality Butter and Sugar Make a Difference
Start strong with unsalted butter at room temperature. It blends better and gives the cookies their rich, tender bite. Creaming it properly with granulated sugar ensures your base is smooth and fluffy. For deeper flavor, try swapping in a bit of brown sugar—it adds a caramel-like undertone that enhances the chocolate.
Vanilla extract plays a quiet but crucial role, deepening the sweetness. Always opt for pure vanilla over imitation if you can. These foundational elements help Chocolate Thumbprint Cookies stand tall next to crowd-pleasers like soft snickerdoodle cookies and churro cheesecake bars.
Choosing the Right Chocolate
The filling deserves just as much attention. Classic thumbprint cookies use a simple chocolate ganache—just heavy cream and semi-sweet chocolate. But don’t be afraid to experiment. Milk chocolate gives a smoother, kid-friendly flavor, while dark chocolate amps up the richness for adult palates.
You can even swirl in a bit of peanut butter or caramel for a twist. If you’ve ever tried salted chocolate and caramel pretzel bars, you’ll know how good that contrast can be.
Pro Tips for Baking the Perfect Thumbprint
Preventing Cracks and Flattening
The secret to smooth, uncracked cookies? Chill your dough. Let it rest in the fridge for at least 30 minutes before shaping. It firms up the butter and gives the cookies structure, helping them hold their shape during baking. When forming the thumbprint, use your knuckle or the back of a teaspoon for a consistent depth without cracking the edges.
And remember: create the indent before baking, not after. If it puffs too much, gently press it again while warm.
Once you’ve mastered this, try applying the same principles to recipes like white chocolate peppermint cookies or gingerbread cheesecake cups, where shape and structure matter.
Baking Time and Temperature Tricks
Set your oven to 350°F (175°C), and always preheat it. Bake the cookies for 10–12 minutes—any longer, and you risk drying them out. They should be slightly golden on the bottom but still soft on top. Once out of the oven, add the warm ganache immediately so it sets beautifully in the thumbprint.
Check cookies by touch: they should feel set but not firm. Overbaking is the enemy of chewiness, which is why treats like chewy Christmas toffee remain fan favorites—they’re baked to perfection.
Variations and Creative Twists
Beyond Chocolate: Flavor Infusions
Chocolate Thumbprint Cookies are a solid base for experimentation. Add a teaspoon of espresso powder to the dough for mocha lovers or a drop of peppermint extract for a wintery upgrade. Feeling fruity? Spoon in raspberry jam instead of chocolate, echoing the bright flavor of raspberry Linzer cookies.
You can also roll the dough in chopped nuts, shredded coconut, or festive sprinkles before baking. These small changes completely reinvent the cookie and make your batch feel unique every time.
Kid-Friendly and Festive Looks
Let the kids join in by decorating the chocolate centers with tiny candies or colored sugar after they set. This transforms your cookies into edible ornaments. And if you want something truly holiday-themed, take a cue from saltine candy delight or cannoli cookies, which balance fun with flavor beautifully.
Creating an assortment of festive cookies helps your dessert table stand out and keeps guests coming back for seconds.
Serving Up the Final Words for Chocolate Thumbprint Cookies
There’s something timeless about baking Chocolate Thumbprint Cookies. Whether you’re making them as a weekend treat or for a holiday cookie platter, they always deliver that rich, nostalgic bite people remember. From choosing the right butter to perfecting that glossy chocolate center, every step is part of the joy. And once you’ve baked one batch, you’ll be itching to try creative spins like peppermint or caramel infusions, just like other holiday hits such as frosted Christmas brownies or old-fashioned bourbon balls.
As you experiment with your next cookie recipe, remember that even the smallest touch—like a pinch of flaky salt or a drizzle of ganache—can elevate your cookies from simple to spectacular. And with all the tips we’ve covered, you’re now ready to bake the most irresistible Chocolate Thumbprint Cookies every time.
Frequently Asked Questions
Why are my thumbprint cookies cracking?
Cracking happens when the dough is too cold or not pliable enough. Make sure to roll your dough smooth, and if it’s too firm from the fridge, let it sit for 5–10 minutes at room temperature. Gently pressing with your knuckle instead of your thumb can also prevent edge cracks.
Can I use different fillings for chocolate thumbprint cookies?
Absolutely! While ganache is classic, raspberry jam, peanut butter, Nutella, or even caramel can be amazing alternatives. Similar to how Christmas crack reinvents saltines, these fillings give new life to a timeless recipe.
Do thumbprint cookies need to be refrigerated?
Once baked, they don’t need refrigeration unless you’ve filled them with perishable ingredients like cream cheese. Store them in an airtight container at room temperature for up to 5 days for the best texture.
How do I keep chocolate thumbprint cookies from spreading?
Chill the dough! This is the most important step. Cold dough holds its shape better, and forming uniform-sized balls helps them bake evenly. Avoid over-creaming the butter and sugar, which adds too much air and leads to flattening.