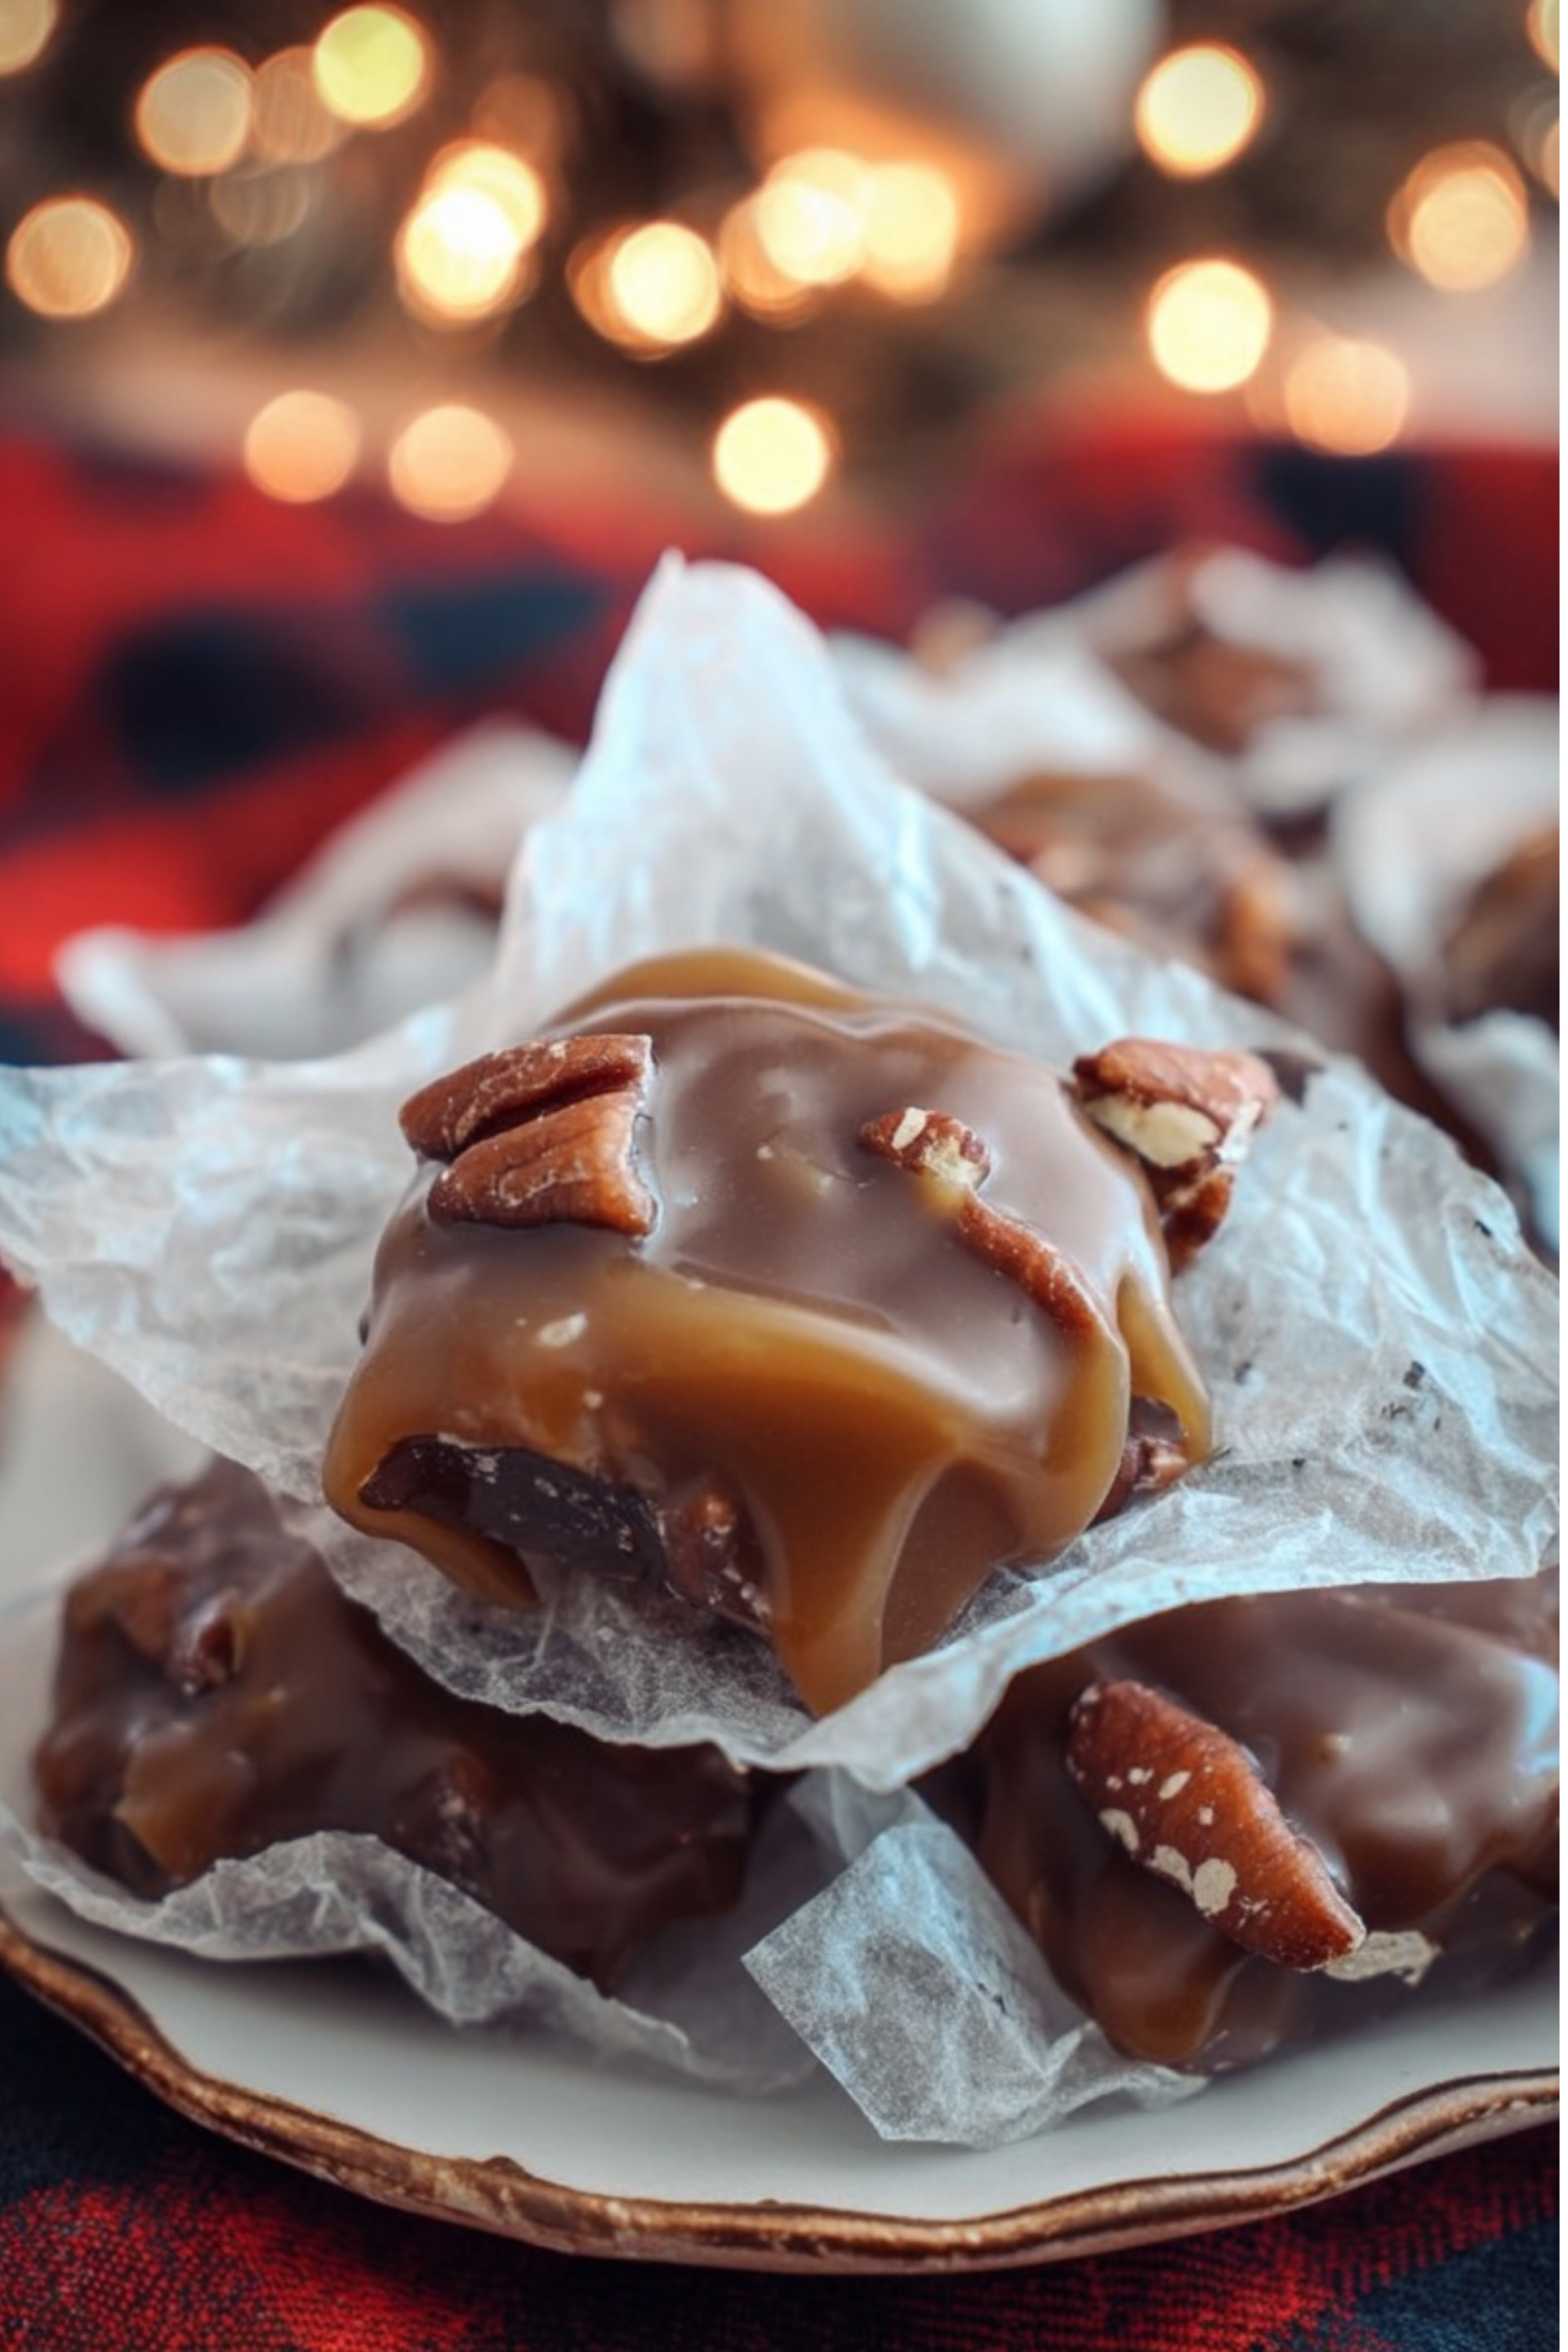
There’s something downright magical about Homemade Turtle Candy. The first time I tasted it, I was sitting on my grandma’s vinyl kitchen stool, barely tall enough to see over the counter. She let me drizzle warm caramel over toasted pecans before carefully dropping glossy chocolate disks on top. I still remember how sticky my fingers were—and how unbelievably good it tasted. Since then, I’ve made this candy for birthdays, holidays, and cozy nights in, always tweaking the texture and flavor a little more each time.
This article is your go-to guide for creating the perfect batch of Homemade Turtle Candy—crunchy, gooey, and coated in rich chocolate. We’ll cover the ingredients that make the magic happen, the steps that bring it all together, variations you’ll want to try, and expert tips to avoid common candy-making pitfalls. If you’ve never tried making candy at home, don’t worry—it’s easier than you think, and the results are worth every minute.
Whether you’re packaging treats for a holiday party or sneaking one from the fridge after midnight, Homemade Turtle Candy brings joy with every bite. Ready to dive into the sweet, nutty, chocolaty world of turtle candy? Let’s go.
Why Homemade Turtle Candy Is a Must-Try
The Sweet History of Turtle Candy
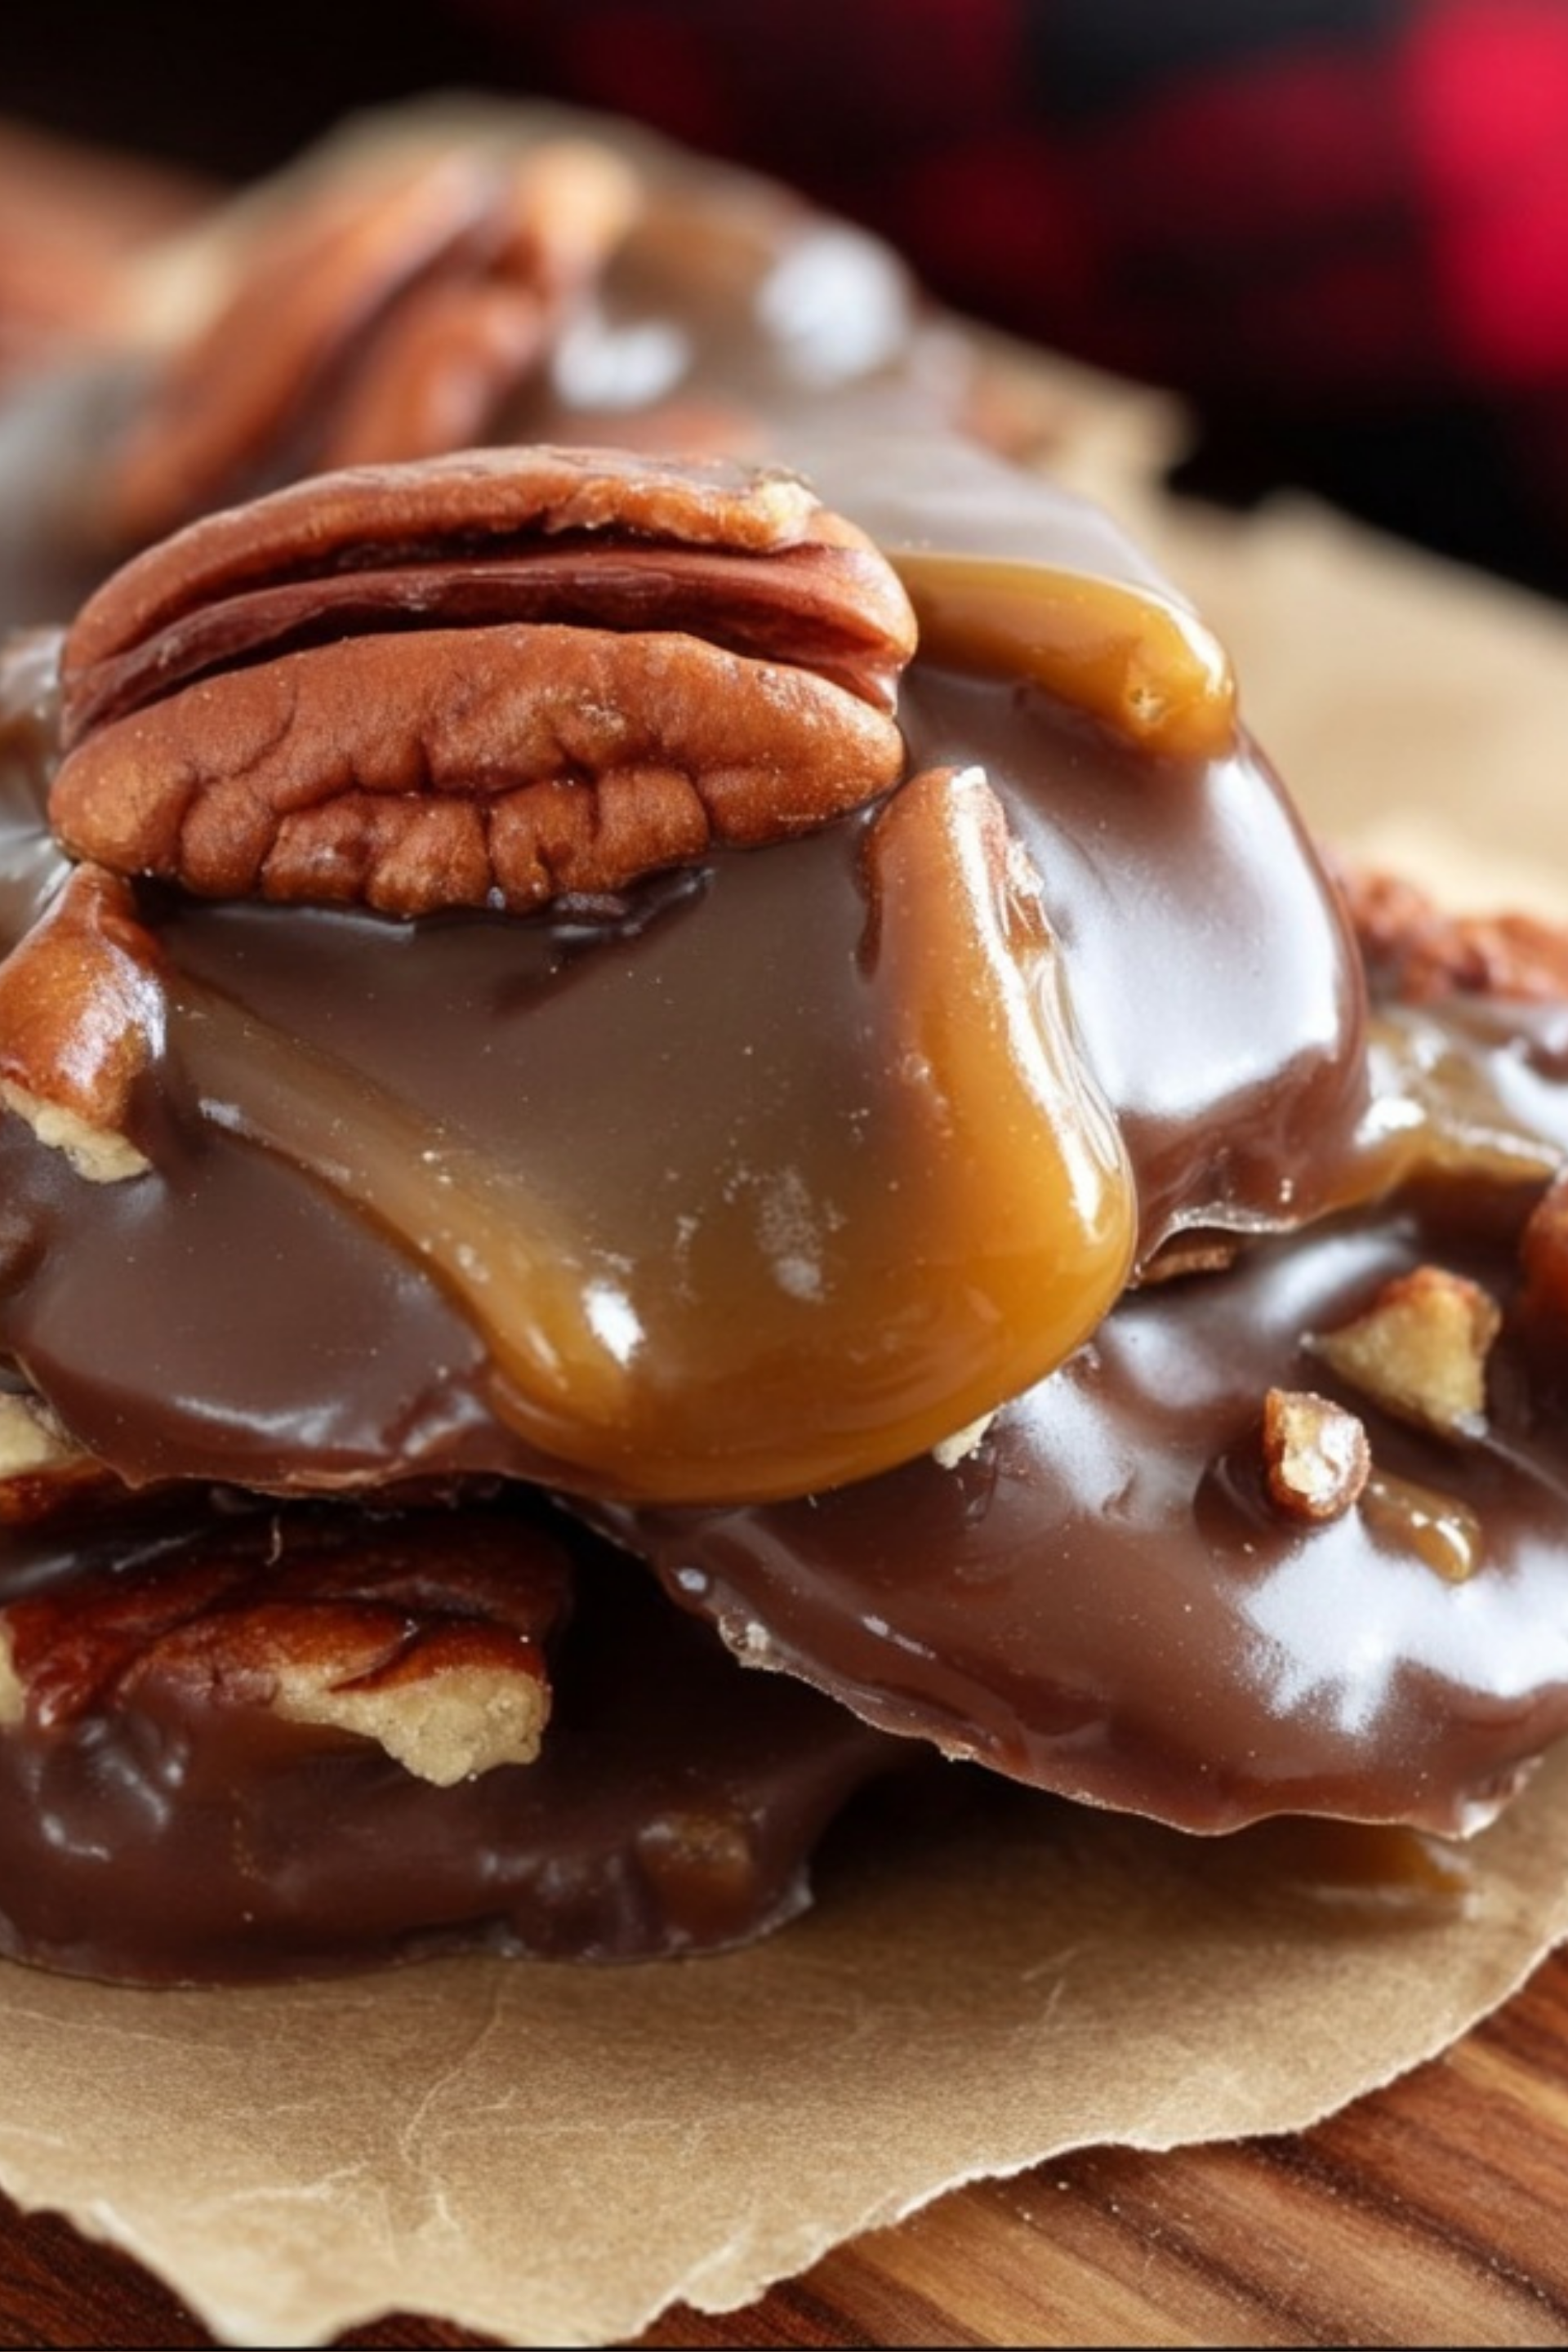
While mass-produced versions have found their way onto store shelves, there’s no beating the charm of Homemade Turtle Candy. This treat got its name from the adorable turtle shape—pecans for the legs, caramel for the body, and chocolate for the shell. It originated in the early 1900s and quickly became a candy shop favorite. But making it at home lets you control every detail, from the richness of the caramel to the thickness of the chocolate.
Plus, you don’t need a candy thermometer or fancy molds. It’s one of those recipes that feels more rewarding the more you make it. You can even involve the kids, like I did with my grandma—just lay down parchment and expect a few (joyful) messes. For even more chewy holiday magic, check out this Chewy Christmas Toffee that captures a similar nostalgic bite or these Frosted Christmas Brownies for those chocolate lovers in your crew.
Print
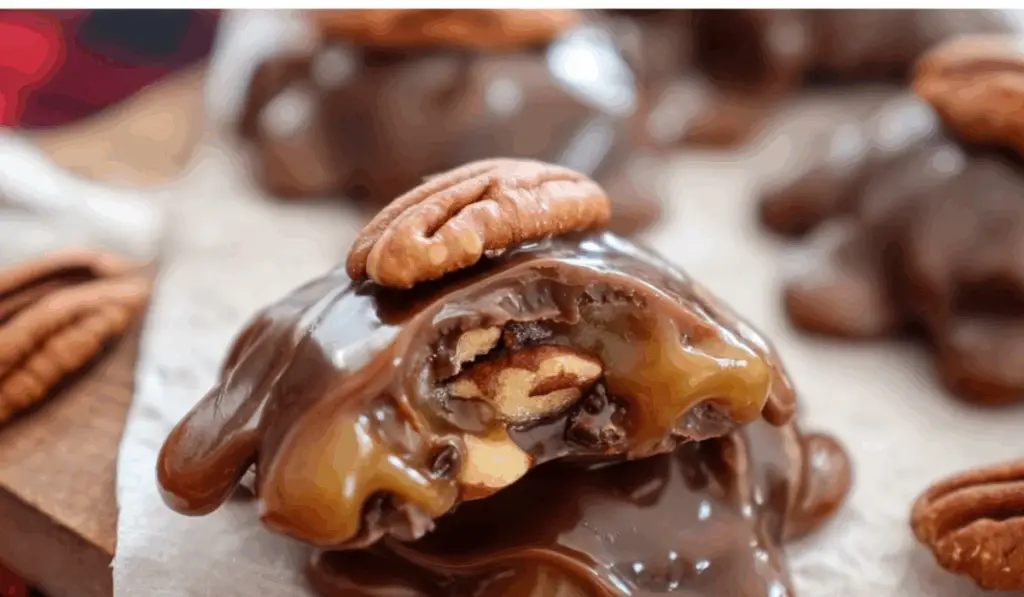
Homemade Turtle Candy: The Ultimate Sweet Treat for Every Occasion
Homemade Turtle Candy combines toasted pecans, creamy caramel, and rich chocolate for the ultimate homemade treat.
- Total Time: 20 minutes
- Yield: 24 candies 1x
Ingredients
- 2 cups pecan halves (toasted)
- 1 cup soft caramels (or homemade)
- 1 tbsp heavy cream
- 1 1/2 cups semi-sweet or milk chocolate chips
- Optional: sea salt for topping
Instructions
- Preheat oven to 350°F and toast pecans for 8 minutes. Let them cool, then arrange into clusters on parchment paper.
- Melt caramel with heavy cream until smooth. Spoon over each pecan cluster and let it set.
- Melt chocolate chips, then spoon over caramel. Spread lightly to cover. Optionally sprinkle with sea salt.
- Let set at room temperature or refrigerate for 30 minutes before storing or serving.
Notes
- Use parchment to prevent sticking.
- Try different nuts like almonds or pistachios.
- Store in airtight container for up to 2 weeks.
- Prep Time: 15 minutes
- Cook Time: 5 minutes
- Category: Candy
- Method: No-Bake
- Cuisine: American
- Diet: Vegetarian
Nutrition
- Serving Size: 1 candy
- Calories: 140
- Sugar: 12g
- Sodium: 35mg
- Fat: 9g
- Saturated Fat: 3g
- Unsaturated Fat: 5g
- Trans Fat: 0g
- Carbohydrates: 15g
- Fiber: 1g
- Protein: 1g
- Cholesterol: 2mg
The Key Ingredients That Make Magic
To create the perfect Homemade Turtle Candy, you need just a handful of pantry staples: toasted pecans, soft buttery caramel, and premium chocolate. The balance is everything. Go with roasted pecans—they hold up better under caramel—and opt for soft caramel (not the hard kind used for dipping apples).
Chocolate matters too. Use semi-sweet or dark chocolate chips for a deeper flavor, or go for milk chocolate if you want that classic sweet profile. Want a twist? Try white chocolate or drizzle a bit of sea salt on top for that gourmet edge. The point is to keep it simple but thoughtful.
If you love combining sweet and salty in your treats, don’t miss these Salted Chocolate and Caramel Pretzel Bars—a fun spin on the turtle candy flavor profile.
Step-by-Step Homemade Turtle Candy Method
Toasting, Arranging, and Assembling
First, gather your ingredients: pecans (whole or halved), soft caramel (homemade or store-bought), and chocolate chips. Toast the pecans at 350°F for 8 minutes—this brings out their natural oils and deepens the flavor. Arrange them on parchment paper in clusters of four or five, like little turtles with legs.
Next, melt your caramel. You can use a double boiler or microwave it in 15-second bursts, stirring often. Spoon about a tablespoon of warm caramel over each pecan cluster. Be generous but careful not to flood the nuts—structure matters. Let the caramel set for a few minutes before moving on.
For a seasonal twist on presentation, pair these candies with Saltine Candy Delight to build an edible holiday gift box or display them alongside Little Debbie Christmas Tree Cake Truffles for a whimsical dessert board.
Melting and Topping with Chocolate
Melt your chocolate chips next—again, either over a double boiler or in short microwave bursts. Stir until smooth. Drop a spoonful over the caramel-covered pecans. You can use a spoon to nudge the chocolate slightly so it covers most of the caramel without spilling too far.
This step is what gives turtle candy its shell, that beautiful glossy finish that makes it look as good as it tastes. If you want to add toppings—sea salt, crushed peppermint, or even a dusting of cinnamon—now’s the time.
Let the candies set at room temp or speed things up by refrigerating them for 20–30 minutes. Just be sure to store them in an airtight container so they stay fresh.
Flavor Variations to Try
Gourmet Twists on a Classic
What makes Homemade Turtle Candy so appealing is its flexibility. Want a more elegant version? Swap regular caramel for salted bourbon caramel. Use roasted almonds instead of pecans for a crunchier bite, or try pistachios for color and subtle flavor.
You can even turn this into a layered bark—spread the chocolate first, then caramel, then chopped nuts, and refrigerate. Break it into chunks like toffee. There’s no wrong way to personalize these candies.
If you’re feeling adventurous, blend flavors like in this Old Fashioned Bourbon Balls recipe or layer it with textures like in these Churro Cheesecake Bars, both proving that home candy-making has endless variety.
Kid-Friendly and Holiday-Inspired Versions
For something fun and festive, use red and green sprinkles or colored candy melts to match the season. You can even mold the clusters into hearts for Valentine’s Day or stars for the Fourth of July.
Kids love adding their own spin—mini M&Ms, drizzle of white chocolate, or even crushed pretzels for texture. These sweet treats double as edible crafts.
While you’re in the spirit, whip up a batch of White Chocolate Peppermint Cookies or Gingerbread Crinkle Cookies to round out your dessert spread.
Tips for the Best Homemade Turtle Candy Every Time
Avoiding Common Mistakes
Sticky caramel sliding off the nuts? Your pecans might not be cool enough. Chocolate not setting properly? The kitchen might be too warm. These little missteps are easy to fix once you’ve made turtle candy a few times.
Another tip: Always line your tray with parchment paper. Otherwise, your candies may stick and crack when you try to remove them. Keep your caramel slightly warm while working so it spreads easily without burning your fingers.
Want flawless candy-making? Take notes from other texture-rich favorites like Peaches and Cream Crumble Bars or these satisfying Strawberry Rhubarb Crumb Bars where layer timing makes all the difference.
Storage, Shelf Life, and Gifting Ideas
Once set, your Homemade Turtle Candy can last up to two weeks in an airtight container. If your kitchen is warm, refrigerate to prevent melting. For gift giving, wrap individual candies in wax paper or fill decorative tins with layers of parchment between each piece.
They’re ideal for holidays, party favors, or thoughtful “thank you” gifts. Add a handwritten tag and a ribbon, and your candy becomes a personal, memorable treat.
Pair it with a recipe card featuring these Banana Split Dump Cake or Almond Butter Chocolate Chip Cookies to turn your gift into a baking-themed care package.
Serving Up the Final Words
Homemade Turtle Candy is more than just a sweet treat—it’s a memory, a gift, and a crowd-pleaser all wrapped in one rich, gooey bite. Whether you’re making a batch to share with friends or sneaking one with your evening tea, the blend of crunchy pecans, soft caramel, and melted chocolate never fails to impress.
Once you try it, you’ll see how customizable it is—from using dark chocolate to adding a sprinkle of sea salt or even layering it into bark. The possibilities are endless, and the effort is minimal. That’s the beauty of Homemade Turtle Candy: it brings maximum joy with simple, satisfying steps.
Looking to round out your candy tray? Try pairing it with these Brown Sugar Pop Tart Cookies or creamy Peanut Butter Mousse for an unbeatable dessert spread.
Ready to get cooking? Trust me—once you make your first batch, you’ll be hooked.
FAQ: Homemade Turtle Candy
What are homemade turtle candies made of?
Homemade turtle candies use three main ingredients: toasted pecans, soft caramel, and melted chocolate. The combination creates that signature turtle shape and taste.
Can I use store-bought caramel for homemade turtle candy?
Absolutely! Store-bought soft caramels work great—just melt them gently with a splash of cream. Or, for more control over flavor, make caramel from scratch at home.
How long do homemade turtle candies last?
Stored in an airtight container, they last about 2 weeks at room temperature. In warmer climates, refrigeration helps preserve their shape and texture longer.
Are there dairy-free or vegan versions of turtle candy?
Yes, you can use dairy-free caramel and vegan chocolate chips. Swap in plant-based butter and check ingredient labels to make your turtle candy fully vegan.