There’s just something about the smell of homemade bread that takes me back to my grandmother’s cozy kitchen in Michigan. I remember watching her pull a beautifully browned loaf out of her cast iron dutch oven with the kind of ease only years of baking could bring. That crust crackled when she sliced into it, revealing a warm, airy interior that needed nothing more than a dab of butter. It was comfort, skill, and love—baked into one.
That’s what Dutch Oven No Knead Bread brings to your home—rustic simplicity with artisan results. It feels like magic the first time you make it. No need to knead, no fancy equipment, no baking degrees. Just a bowl, a spoon, time, and a heavy-duty dutch oven.
In this article, we’ll explore how to master Dutch Oven No Knead Bread with crisp crusts, chewy interiors, and foolproof steps. Whether you’re making your first loaf or elevating a go-to recipe, you’ll learn techniques, insider tips, and serving ideas that make this bread unforgettable.
Let’s get your home smelling like a rustic French bakery.
Understanding the Dutch Oven Bread Revolution
Why Dutch Oven No Knead Bread Works So Well
The genius of Dutch Oven No Knead Bread lies in its science. When the dough goes into the preheated dutch oven, the trapped steam from the moist dough creates a golden, blistered crust while preserving the fluffy interior. It mimics the effect of a professional steam-injected oven—right in your kitchen.
Instead of laborious kneading, a long fermentation period does the work. The dough rests 12–18 hours, allowing gluten to develop naturally. That means less work for you, and deeper flavor in every bite.
What’s more, you get consistency. If you’ve ever struggled with dry or dense loaves, this method solves that by keeping hydration high and techniques simple. That’s what makes it better than standard loaf recipes like this soft snickerdoodle cookies guide that require more precise texture handling or even shaped doughs like these reindeer cupcakes.
Print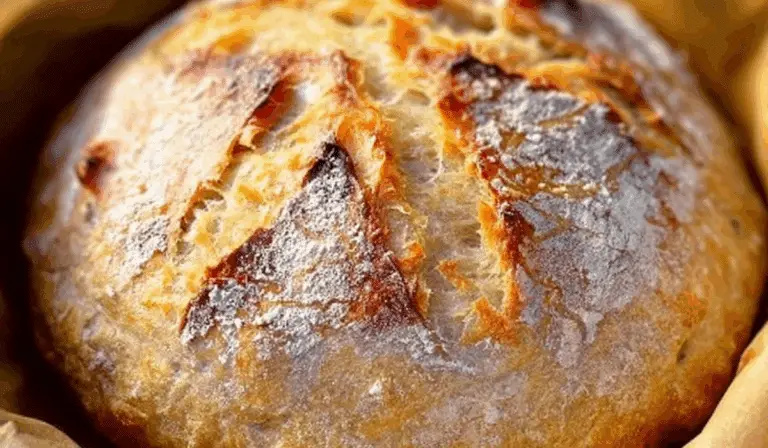
Dutch Oven No Knead Bread: Crispy Crust, Soft Center & Easy Magic at Home
This Dutch Oven No Knead Bread delivers a crispy crust with a soft, airy center using only 4 ingredients and zero kneading.
- Total Time: 13 hours
- Yield: 1 loaf 1x
Ingredients
- 3 cups all-purpose or bread flour
- 1/4 tsp instant yeast
- 1 1/4 tsp salt
- 1 1/2 cups warm water
Instructions
- In a large bowl, mix flour, yeast, and salt. Add warm water and stir until shaggy dough forms.
- Cover bowl and let dough rest for 12–18 hours at room temperature.
- Turn dough onto floured surface and shape into a ball. Let rest for 30–60 minutes on parchment paper.
- Preheat Dutch oven at 450°F for 30 minutes. Carefully place dough into the hot pot using parchment.
- Bake covered for 30 minutes, then uncovered for 15–20 minutes until golden brown.
- Cool on a wire rack for at least 1 hour before slicing.
Notes
- For flavor variations, add herbs, garlic, or cheese before shaping.
- Best enjoyed fresh but can be frozen for up to 3 months.
- Prep Time: 10 minutes
- Cook Time: 45 minutes
- Category: Bread
- Method: Baking
- Cuisine: American
- Diet: Vegetarian
Nutrition
- Serving Size: 1 slice
- Calories: 130
- Sugar: 0g
- Sodium: 290mg
- Fat: 0.5g
- Saturated Fat: 0g
- Unsaturated Fat: 0.5g
- Trans Fat: 0g
- Carbohydrates: 27g
- Fiber: 1g
- Protein: 4g
- Cholesterol: 0mg
Choosing the Right Dutch Oven
Not all dutch ovens are created equal for this bread. You need one that retains heat and seals steam. Look for:
- Heavy enamel-coated cast iron (like Le Creuset or Lodge)
- 4 to 6-quart size for ideal dough expansion
- Oven-safe knob rated for at least 450°F
Avoid non-stick or lightweight aluminum pots; they don’t hold heat the same. A thick-walled pot ensures your crust caramelizes evenly and your bread rises perfectly. And if your oven’s quirky, preheat longer or consider insulated baking options.
If you’re already a fan of set-and-forget baking, you’ll love how this compares to no-bake cheesecake cups where environment control matters just as much.
The Ingredients & Timing That Create Perfect Texture
The 4-Ingredient Simplicity
The beauty of Dutch Oven No Knead Bread is its minimalism. Here’s what you need:
- 3 cups all-purpose or bread flour
- 1/4 teaspoon instant yeast
- 1 1/4 teaspoons salt
- 1 1/2 cups warm water
That’s it. No sugar, no eggs, no dairy. Just pantry basics that transform into a bakery-quality loaf. Want something more robust? Swap in 1 cup whole wheat flour or add 1 tablespoon honey for sweetness.
Pair your dough-making with prepping other holiday treats like chewy Christmas toffee or these sugar cookie cheesecakes to make the most of your kitchen time.
Understanding Fermentation: Timing Is Everything
Fermentation is where the magic happens. Mix the dough just until combined. It’ll be shaggy and sticky—perfect. Then let it rest:
- 12 to 18 hours at room temp
- Covered in a bowl with plastic wrap or a plate
That slow rise builds complex flavor and lets gluten structure form naturally. No stretch-and-fold necessary.
If your house is cool (below 68°F), you can proof in an oven with the light on or near a warm appliance. Cold weather? Let the dough go the full 18 hours.
This slow method contrasts sharply with quick-prep recipes like deviled egg Christmas trees or cranberry pecan cheese balls—and the payoff is worth the wait.
Shaping, Baking & Getting That Artisan Crust
Shaping Like a Pro Without Kneading
Once the dough has risen, turn it out onto a floured surface. It’ll be loose and jiggly—that’s good. Use floured hands or a bench scraper to gently pull the sides in and shape it into a rough ball.
Let it rest again on parchment for 30–60 minutes while your dutch oven preheats at 450°F. This helps the dough relax and sets it up for maximum oven spring.
Using parchment makes transferring your loaf into the blazing hot dutch oven safe and easy—no flipping needed. Unlike structured desserts like churro cheesecake bars or shortbread cookies, this dough doesn’t require rigidity.
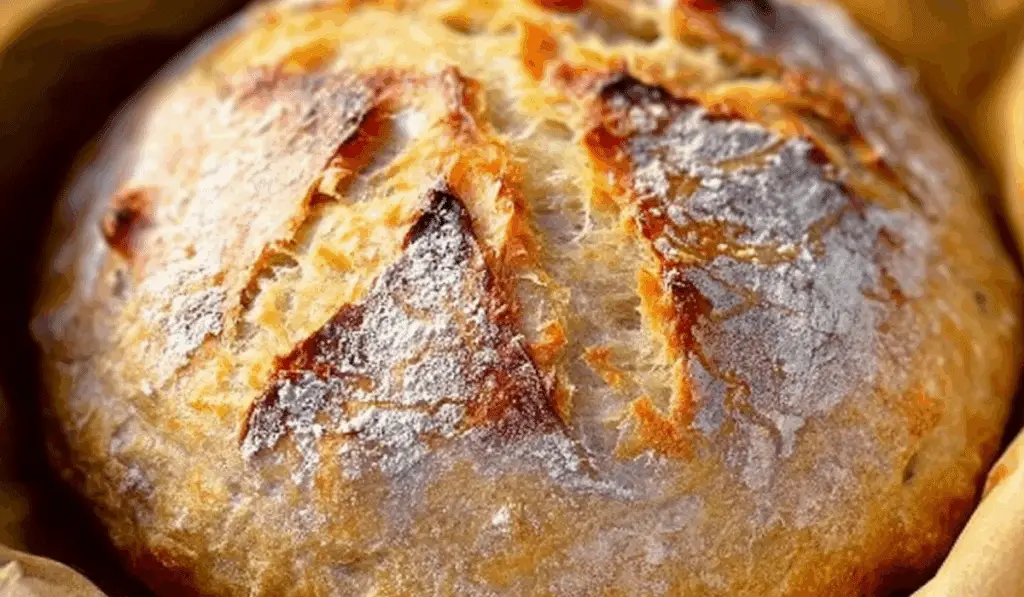
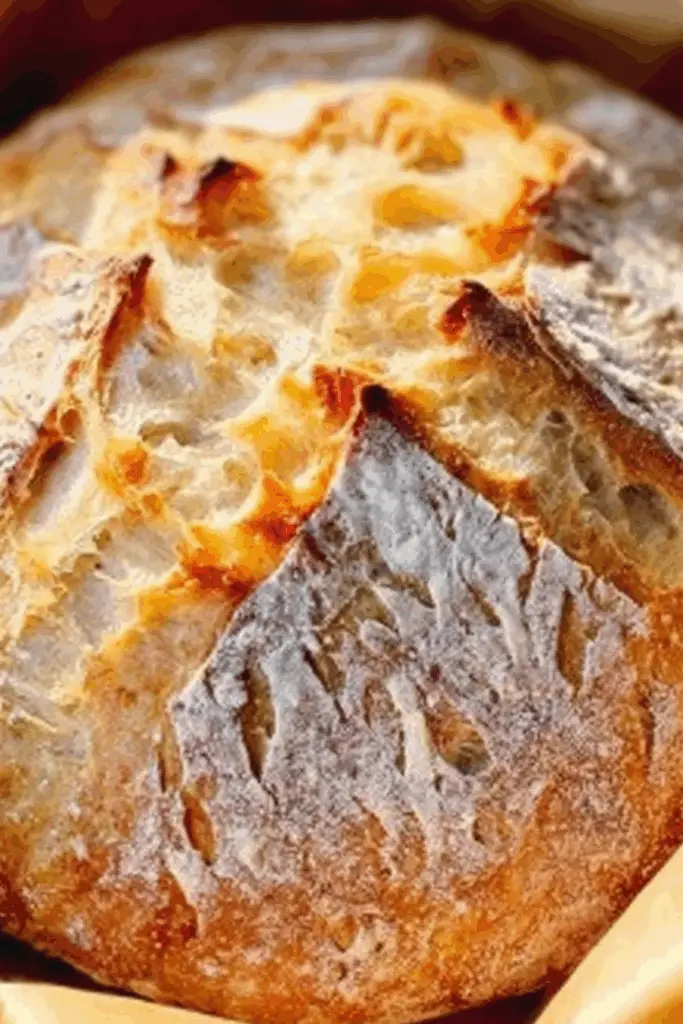
Scoring & Baking for the Signature Look
Right before baking, score the top of the dough with a sharp knife or razor. A single slash across the top is enough. This controls the expansion and gives your bread that beautiful artisan look.
Now bake:
- 30 minutes covered to trap steam
- 15–20 minutes uncovered for golden crisping
When it’s done, the crust will be deep golden and sound hollow when tapped. Cool it on a rack for at least 1 hour before slicing (yes, we know it’s hard to wait).
It’s different than cookies or spinach dip breadsticks that can be eaten warm. Bread needs that cool-down for the crumb to set.
Flavor Twists & Storage That Make It Last
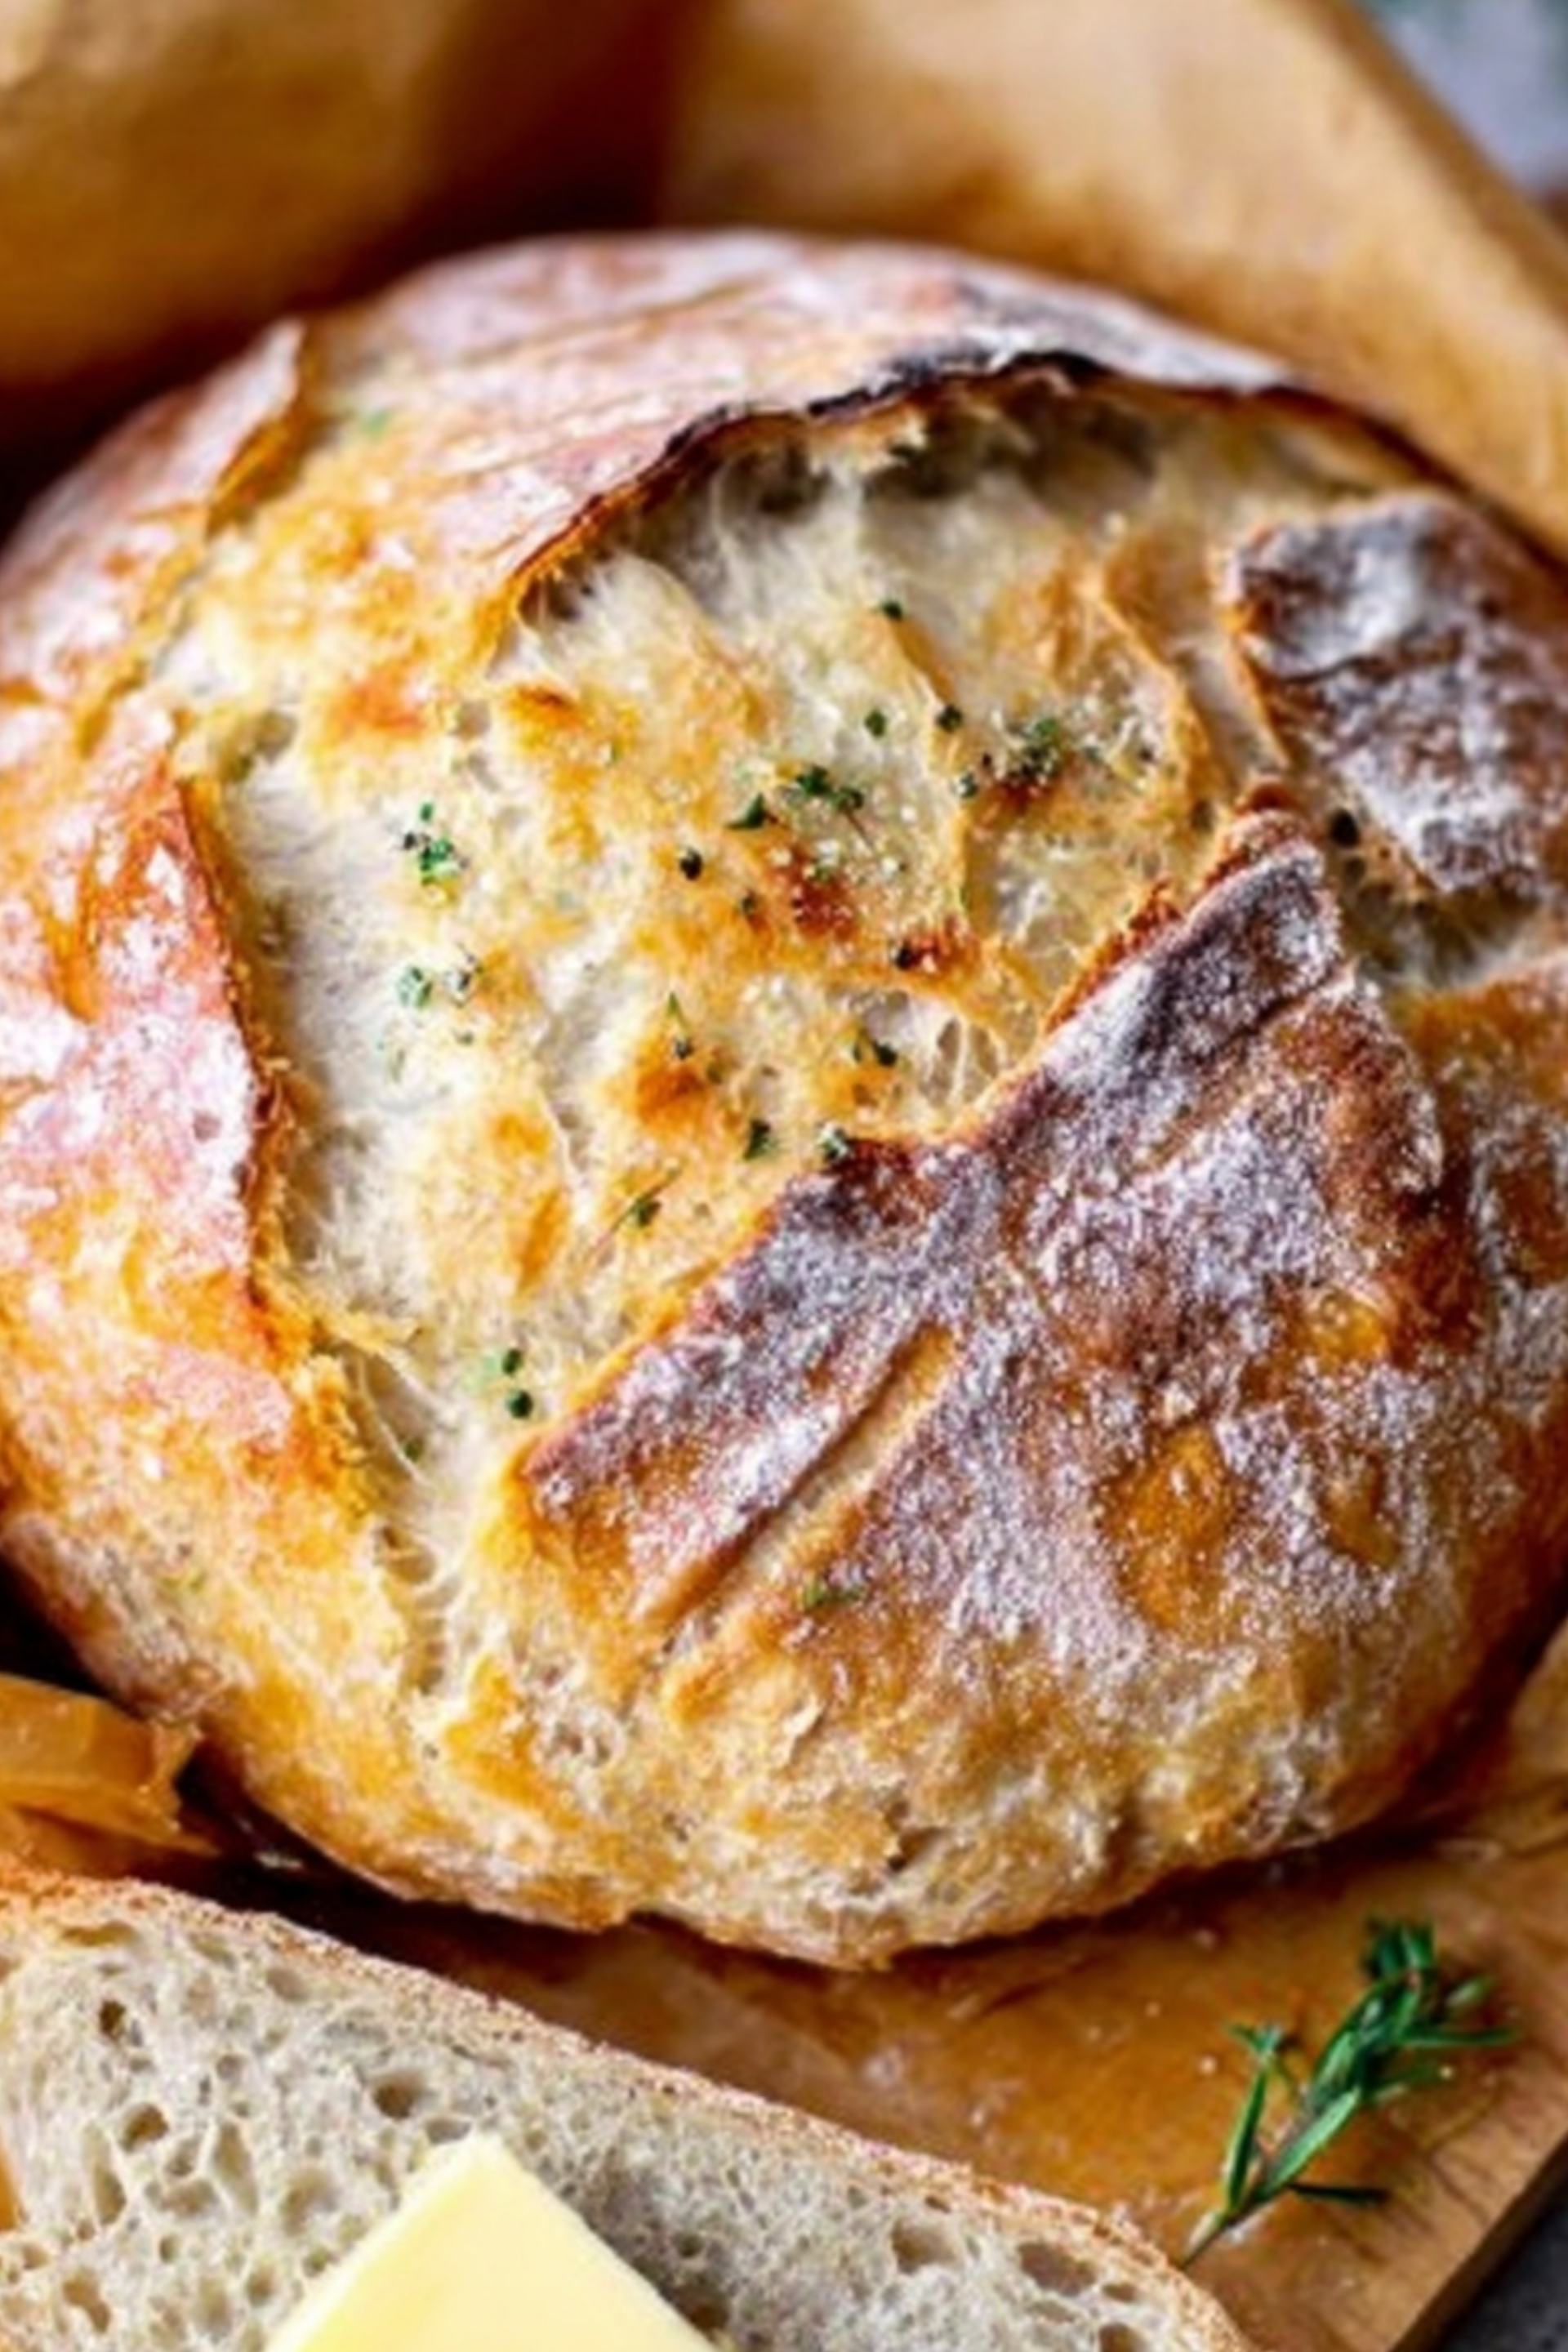
Flavor Add-Ins: Going Beyond Classic
Once you’ve nailed the basic Dutch Oven No Knead Bread, it’s time to get creative. Try:
- Rosemary and sea salt mixed into the dough
- Roasted garlic cloves folded before shaping
- Cheddar and jalapeño for a spicy twist
For a sweet option, go cinnamon raisin by adding 1/2 cup raisins and 1 tablespoon cinnamon with a touch of brown sugar. Think of it like pairing with treats such as yule log cake or linzer cookies.
Each variation opens new serving ideas—savory for sandwiches or sweet for brunch spreads.
Storing & Freezing to Maximize Freshness
Your Dutch Oven No Knead Bread is best the day it’s baked but can last:
- 2 days wrapped in a towel on the counter
- Up to 5 days in a paper bag in a bread box
- Freeze sliced or whole loaf for 2–3 months
To refresh, wrap in foil and warm at 350°F for 10–15 minutes. Or toast slices straight from the freezer.
If you’re entertaining, bake in advance and reheat the morning of. Serve it with cheesy Christmas bread or even with gingerbread crinkle cookies for a full winter table.
Serving Up the Final Words
Dutch Oven No Knead Bread brings professional bakery results into the hands of everyday home bakers. No kneading. No mess. Just four ingredients, a pot, and time. Whether you’re hosting family dinner or pairing your loaf with a holiday appetizer spread, this bread makes an impression. Its golden crust, chewy interior, and rustic charm are worth every second of the wait.
You’ve seen how to get the perfect rise, a crisp exterior, and flavor variations that rival artisan bakeries. With the dutch oven doing the heavy lifting, even beginners get impressive results. This recipe isn’t just about bread—it’s about confidence, creativity, and cozy satisfaction.
Pair your fresh loaf with festive recipes like saltine candy Christmas crack or enjoy it alongside savory mains, just like you would with a bowl of chili or a holiday roast. Every slice you make isn’t just delicious—it’s proof that simple can still be spectacular.
Now, let’s wrap up with answers to the most common questions home bakers ask when trying Dutch Oven No Knead Bread.
FAQ
Can I make Dutch Oven No Knead Bread gluten-free?
Yes, but it requires a gluten-free flour blend designed for yeast bread. Expect a denser loaf. Also, reduce resting time to 6–8 hours to avoid over-fermentation.
What if I don’t have a dutch oven?
You can bake the dough on a pizza stone or baking sheet and use an oven-safe metal bowl as a cover for steam. It won’t be exactly the same, but the crust will still turn out fairly crisp.
Why did my bread come out flat?
If the dough is over-proofed or your oven isn’t hot enough, the bread won’t rise properly. Make sure your oven is fully preheated and your dough is shaped tightly before baking.
How can I get a softer crust?
After baking, wrap the warm loaf in a clean kitchen towel and let it cool that way. It traps steam around the crust and keeps it from hardening too much.