
There’s something magical about summer that brings back memories of sunny days, cool drinks, and the irresistible taste of an orange creamsicle. As a child, I remember eagerly awaiting the summer months, not just for the sunshine, but for the familiar pleasure of biting into that frozen popsicle with its creamy center and tangy citrus exterior. It was the perfect treat to cool off on a hot day. Inspired by that iconic summer dessert, I created this Orange Jello Creamsicle Pie, and let me tell you—it’s just as refreshing, creamy, and delicious as you would imagine. This pie captures all the wonderful flavors of an orange creamsicle in a convenient, no-bake pie format that’s both easy to make and irresistible to eat. If you’re a fan of cool desserts and want a treat that embodies everything you love about summer, this pie is your new best friend.

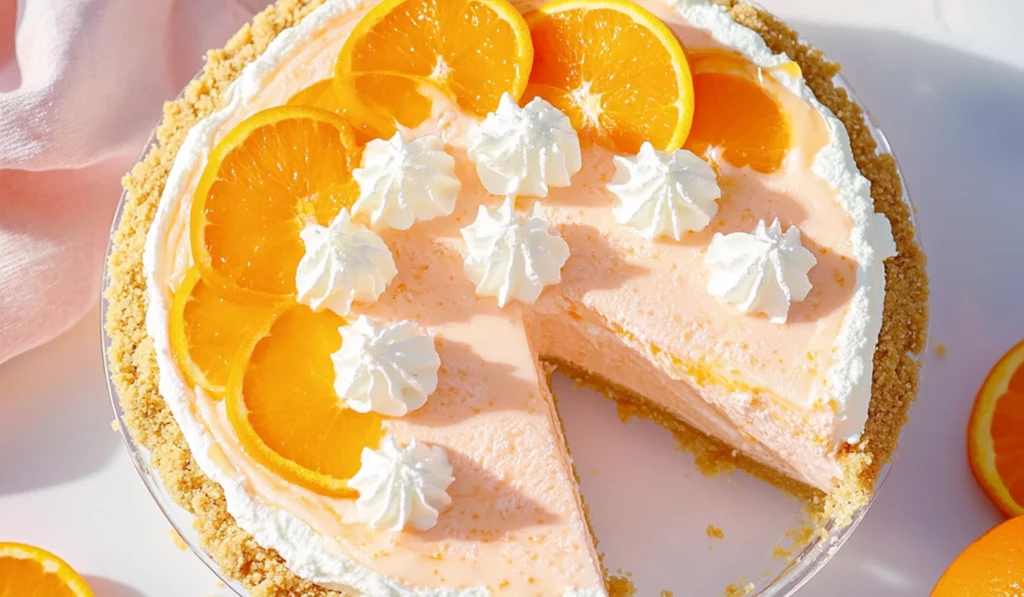
Orange Jello Creamsicle Pie: A Cool, Creamy, and Dreamy Dessert for Hot Summer Days
There’s something nostalgic about the classic orange creamsicle—cool, creamy, and bursting with citrus flavor. This Orange Jello Creamsicle Pie brings that same refreshing taste into an easy-to-make dessert that’s perfect for hot summer days. With a simple cookie crust, creamy filling, and just the right amount of tang from the orange zest and juice, this pie is a crowd-pleaser. It’s an ideal recipe for beginners, offering a no-bake option that’s quick, delicious, and sure to impress. Whether for a summer gathering or a sweet treat at home, this pie is a must-try!
- Total Time: 2 hours
- Yield: 8 slices 1x
Ingredients
For the Crust:
- 3 cups shortbread cookies (about 24 cookies)
- ¼ cup melted butter
For the Filling:
- 1 orange, peeled and sliced
- 2 tablespoons orange zest
- 1 teaspoon vanilla extract
- ¼ cup orange juice
- 1 box of orange Jello (3 ounces)
- 12 ounces cream cheese, softened and cubed, divided
- 12 ounces Cool Whip, divided
- 1 can sweetened condensed milk (14 ounces)
For the Topping (optional):
- Orange slices for garnish
Instructions
1. Prepare the Crust:
Start by spraying your deep pie dish with non-stick cooking spray. This ensures your crust won’t stick to the pan when you’re ready to serve. Once that’s done, move on to the crust.
-
- Pulse the shortbread cookies in a food processor until you have a sand-like consistency. If you don’t have a food processor, you can place the cookies in a ziplock bag and crush them with a rolling pin.
-
- Mix the cookie crumbs with melted butter in a large mixing bowl. Stir until the crumbs are fully coated and the mixture starts to clump together.
-
- Press the cookie mixture into the bottom and up the sides of the pie dish. Use the back of a spoon or the bottom of a measuring cup to press it down firmly. This ensures your crust will hold together when you slice the pie.
-
- Place the crust in the freezer while you prepare the filling. This helps it set faster.
2. Create the Orange Flavor:
Next, we’re going to blend together all the ingredients that will give the pie its signature orange flavor.
-
- Rinse out the food processor and add the peeled and sliced orange, orange zest, vanilla extract, and orange juice. Blend until smooth. This step is key for infusing that fresh orange flavor into the pie. The vibrant citrusy taste is what will make this dessert stand out and give it that authentic creamsicle essence.
3. Make the Filling Base:
Now it’s time to make the creamy filling.
-
- In a stand mixer (or a large bowl with a hand mixer), beat the softened cream cheese and the orange Jello mix together until the mixture is smooth. Scrape the sides of the bowl as needed to ensure everything is evenly mixed. The Jello will add a nice depth of flavor and make the filling more vibrant.
-
- Add the sweetened condensed milk and beat again until smooth. This will give the filling its rich, creamy texture and provide a lovely sweetness that complements the tartness of the orange.
4. Make It Fluffy:
Now, let’s make the filling extra fluffy.
-
- Fold in 8 ounces of Cool Whip into the cream cheese mixture. This adds lightness to the filling and gives it that signature airy, creamy texture. You want to make sure to fold it gently so that you don’t deflate the whipped cream too much, preserving that fluffiness.
5. Mix in the Orange Juice Mixture:
-
- Beat the orange juice mixture (from step 2) into the filling until everything is fully combined. This is where all the flavor comes together! The orange juice adds a nice balance of tartness that cuts through the sweetness of the cream cheese and condensed milk, making the filling perfectly balanced.
6. Assemble the Pie:
Now that the filling is ready, it’s time to put it all together.
-
- Pour the creamy filling into the chilled cookie crust. Smooth the top with a rubber spatula to make it even. This is where you’ll start to see the pie come to life, and the creamy, orange filling will fill up the crust beautifully.
7. Chill the Pie:
This pie needs to chill for the best texture.
-
- Refrigerate the pie for at least 3–4 hours, or for a softer, more mousse-like texture, you can chill it for about 1–1.5 hours. This helps the filling set, making it easier to slice and serve.
-
- For a firmer, frozen pie, you can also place the pie in the freezer for an hour. Just keep in mind that the pie will firm up more in the freezer than in the fridge, so if you like a soft, creamy texture, go with the fridge.
8. Make the Topping:
For the topping, you’ll whip the remaining cream cheese and Cool Whip together.
-
- Whip 4 ounces of cream cheese and 4 ounces of Cool Whip until smooth and creamy. This will make the perfect light and fluffy topping for your pie. The cream cheese gives the topping a subtle tang that complements the sweet filling.
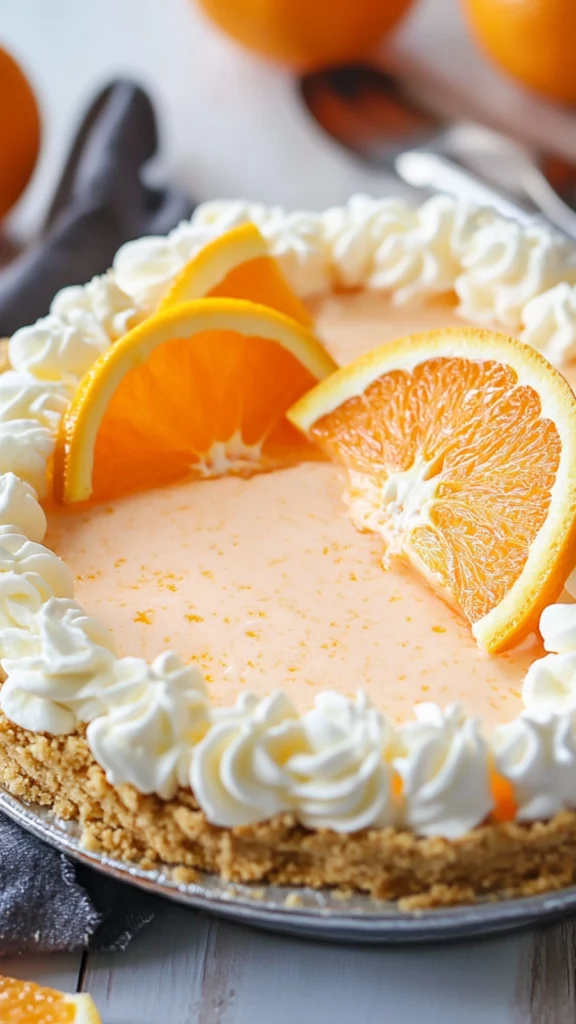
9. Garnish the Pie:
Once the pie has chilled, you’re ready to garnish it. Top the pie with the whipped cream cheese mixture and arrange fresh orange slices on top. This adds a beautiful pop of color and an extra burst of citrus flavor. You can also garnish with additional zest if you want a more intense orange flavor.
Notes
- Crust consistency: When making the crust, make sure it’s packed tightly. A crust that’s too loose might fall apart when you slice the pie. Press it down firmly with the back of a spoon or the bottom of a measuring cup to get an even base.
- Chilling the pie: If you prefer a more frozen texture, the freezer is your friend. Just keep in mind that the pie will firm up more in the freezer than in the fridge, so if you like a soft, creamy texture, go with the fridge.
- Cream cheese: Be sure to soften the cream cheese before mixing it. Cold cream cheese will cause lumps in the filling, so leave it out at room temperature for about 30 minutes before using. This will make it much easier to blend and create a smooth filling.
- Cool Whip: If you’re using homemade whipped cream instead of Cool Whip, you’ll need to whip it to stiff peaks so it holds its shape in the filling and topping. Use a hand mixer or stand mixer to get it nice and fluffy.
- Mixing: When adding the orange juice mixture, be gentle with the folding and mixing to preserve the airiness of the filling. Overmixing can cause the texture to become dense, so fold it in until just combined.
- Prep Time: 30 minutes
- Cook Time: 1 hour 30 minutes
- Category: Dessert
- Method: No-Bake
- Cuisine: American
- Diet: Vegetarian
This pie is perfect for beginners because it’s easy to make and doesn’t require any special skills or baking experience. In just a few simple steps, you’ll have a dessert that’s creamy, citrusy, and as satisfying as a frozen popsicle. It’s also a great dessert to whip up when you’re entertaining guests or treating your family to something special without spending hours in the kitchen. The best part? You can customize it by adding your favorite garnishes or serving it alongside other delicious summer treats. So, whether you’re hosting a summer barbecue or simply craving a sweet, chilled dessert on a warm day, this Orange Jello Creamsicle Pie is bound to become your go-to treat.
Ingredients and Preparation: All You Need for This Simple Pie
Before we dive into the instructions, let’s make sure you’ve got everything you need for this delicious dessert. Here’s a breakdown of the ingredients for the Orange Jello Creamsicle Pie:
For the Crust:
- 3 cups shortbread cookies (about 24 cookies)
- ¼ cup melted butter
For the Filling:
- 1 orange, peeled and sliced
- 2 tablespoons orange zest
- 1 teaspoon vanilla extract
- ¼ cup orange juice
- 1 box of orange Jello (3 ounces)
- 12 ounces cream cheese, softened and cubed, divided
- 12 ounces Cool Whip, divided
- 1 can sweetened condensed milk (14 ounces)
For the Topping (optional):
- Orange slices for garnish
Alternative Ingredient Suggestions: If you can’t find shortbread cookies, graham crackers make a great alternative for the crust. Just pulse them in the food processor until you get a fine crumb. You can substitute the sweetened condensed milk with evaporated milk, though the flavor may change slightly. If you don’t have Cool Whip, homemade whipped cream will work as a substitute for the topping—just make sure to whip it until it forms stiff peaks.
Step-by-Step Instructions: Easy to Follow, Beginner-Friendly
Now that you’ve got all your ingredients ready, let’s get to making the Orange Jello Creamsicle Pie. Follow these simple, numbered steps to bring this delicious dessert to life.
1. Prepare the Crust:
Start by spraying your deep pie dish with non-stick cooking spray. This ensures your crust won’t stick to the pan when you’re ready to serve. Once that’s done, move on to the crust.
- Pulse the shortbread cookies in a food processor until you have a sand-like consistency. If you don’t have a food processor, you can place the cookies in a ziplock bag and crush them with a rolling pin.
- Mix the cookie crumbs with melted butter in a large mixing bowl. Stir until the crumbs are fully coated and the mixture starts to clump together.
- Press the cookie mixture into the bottom and up the sides of the pie dish. Use the back of a spoon or the bottom of a measuring cup to press it down firmly. This ensures your crust will hold together when you slice the pie.
- Place the crust in the freezer while you prepare the filling. This helps it set faster.
2. Create the Orange Flavor:
Next, we’re going to blend together all the ingredients that will give the pie its signature orange flavor.
- Rinse out the food processor and add the peeled and sliced orange, orange zest, vanilla extract, and orange juice. Blend until smooth. This step is key for infusing that fresh orange flavor into the pie. The vibrant citrusy taste is what will make this dessert stand out and give it that authentic creamsicle essence.
3. Make the Filling Base:
Now it’s time to make the creamy filling.
- In a stand mixer (or a large bowl with a hand mixer), beat the softened cream cheese and the orange Jello mix together until the mixture is smooth. Scrape the sides of the bowl as needed to ensure everything is evenly mixed. The Jello will add a nice depth of flavor and make the filling more vibrant.
- Add the sweetened condensed milk and beat again until smooth. This will give the filling its rich, creamy texture and provide a lovely sweetness that complements the tartness of the orange.
4. Make It Fluffy:
Now, let’s make the filling extra fluffy.
- Fold in 8 ounces of Cool Whip into the cream cheese mixture. This adds lightness to the filling and gives it that signature airy, creamy texture. You want to make sure to fold it gently so that you don’t deflate the whipped cream too much, preserving that fluffiness.
5. Mix in the Orange Juice Mixture:
- Beat the orange juice mixture (from step 2) into the filling until everything is fully combined. This is where all the flavor comes together! The orange juice adds a nice balance of tartness that cuts through the sweetness of the cream cheese and condensed milk, making the filling perfectly balanced.
6. Assemble the Pie:
Now that the filling is ready, it’s time to put it all together.
- Pour the creamy filling into the chilled cookie crust. Smooth the top with a rubber spatula to make it even. This is where you’ll start to see the pie come to life, and the creamy, orange filling will fill up the crust beautifully.
7. Chill the Pie:
This pie needs to chill for the best texture.
- Refrigerate the pie for at least 3–4 hours, or for a softer, more mousse-like texture, you can chill it for about 1–1.5 hours. This helps the filling set, making it easier to slice and serve.
- For a firmer, frozen pie, you can also place the pie in the freezer for an hour. Just keep in mind that the pie will firm up more in the freezer than in the fridge, so if you like a soft, creamy texture, go with the fridge.
8. Make the Topping:
For the topping, you’ll whip the remaining cream cheese and Cool Whip together.
- Whip 4 ounces of cream cheese and 4 ounces of Cool Whip until smooth and creamy. This will make the perfect light and fluffy topping for your pie. The cream cheese gives the topping a subtle tang that complements the sweet filling.
9. Garnish the Pie:
Once the pie has chilled, you’re ready to garnish it. Top the pie with the whipped cream cheese mixture and arrange fresh orange slices on top. This adds a beautiful pop of color and an extra burst of citrus flavor. You can also garnish with additional zest if you want a more intense orange flavor.
Beginner Tips and Notes:
As you prepare this dessert, here are a few tips to ensure everything goes smoothly:
- Crust consistency: When making the crust, make sure it’s packed tightly. A crust that’s too loose might fall apart when you slice the pie. Press it down firmly with the back of a spoon or the bottom of a measuring cup to get an even base.
- Chilling the pie: If you prefer a more frozen texture, the freezer is your friend. Just keep in mind that the pie will firm up more in the freezer than in the fridge, so if you like a soft, creamy texture, go with the fridge.
- Cream cheese: Be sure to soften the cream cheese before mixing it. Cold cream cheese will cause lumps in the filling, so leave it out at room temperature for about 30 minutes before using. This will make it much easier to blend and create a smooth filling.
- Cool Whip: If you’re using homemade whipped cream instead of Cool Whip, you’ll need to whip it to stiff peaks so it holds its shape in the filling and topping. Use a hand mixer or stand mixer to get it nice and fluffy.
- Mixing: When adding the orange juice mixture, be gentle with the folding and mixing to preserve the airiness of the filling. Overmixing can cause the texture to become dense, so fold it in until just combined.
Serving Suggestions:
Once your Orange Jello Creamsicle Pie is chilled and ready, you can serve it as-is or add some complementary sides or garnishes to elevate it further.
- Serve with fresh fruit: A few berries or additional citrus slices, like lime or lemon, would pair perfectly with the creamy orange pie. The freshness of the fruit adds a nice contrast to the rich filling.
- Ice cream on the side: If you want to go all out, serve each slice with a scoop of vanilla or orange sherbet ice cream. The creamy ice cream will enhance the texture of the pie and give it an extra indulgent touch.
- Serve at a barbecue or picnic: This pie is perfect for outdoor gatherings. It’s a great make-ahead dessert that can easily be transported and served chilled on a hot day.
Storage and Leftovers:
This pie is perfect for making ahead and storing for later. If you have any leftovers, you can store them in the fridge for up to 3–4 days. Just make sure to cover the pie with plastic wrap or aluminum foil to keep it fresh. If you want to store the pie for a longer period, you can freeze individual slices for up to a month. Simply wrap each slice tightly in plastic wrap and foil and place them in a freezer-safe container. To thaw, let the slices sit in the fridge for a few hours before serving.

Conclusion:
The Orange Jello Creamsicle Pie is a fun, easy-to-make dessert that brings the nostalgic flavors of a creamsicle into a delicious, no-bake pie form. Perfect for beginners, this dessert requires minimal effort and only a handful of ingredients, yet it’s packed with refreshing citrus flavor and creamy texture. Whether you’re hosting a summer party or just craving something sweet and cool, this pie is sure to become a new favorite in your dessert repertoire. It’s the kind of treat that’ll have everyone asking for seconds, so go ahead and give it a try—you won’t be disappointed!


