
There’s something truly satisfying about making a dessert that’s both indulgent and straightforward. If you’ve ever found yourself craving something rich and chocolaty but don’t want to deal with the hassle of baking, then this Easy No-Bake Chocolate Cheesecake is just what you need. I remember the first time I made this recipe; it was for a family gathering, and I wanted to impress everyone with a dessert that looked as good as it tasted. With the combination of creamy chocolate filling and a crunchy Oreo crust, this cheesecake did just that—and it was surprisingly simple to prepare! The best part? It doesn’t require any baking, so it’s the perfect no-fuss treat for beginner cooks.

Decadent Easy No-Bake Chocolate Cheesecake: A Beginner-Friendly
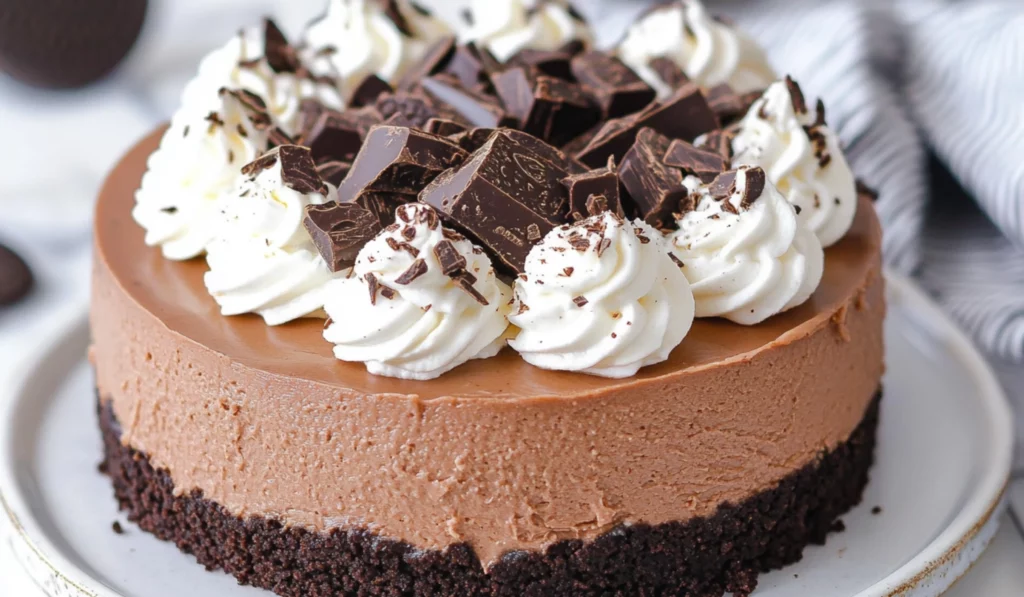
Craving a rich, chocolatey treat that’s super easy to make? This No-Bake Chocolate Cheesecake is the answer! With a smooth, creamy filling and a crunchy Oreo crust, it’s the perfect dessert for beginners. No oven, no hassle—just a simple, indulgent treat that’s sure to impress. Ready to make something delicious with minimal effort? Let’s get started!
- Total Time: 5 hours 45 minutes
- Yield: 12–14 slices 1x
Ingredients
For the Oreo Crust:
- 2 3/4 cups (369g) Oreo cookie crumbs (about 31 Oreos)
- 5 tbsp (70g) butter (salted or unsalted), melted
Alternative Suggestions:
- Cookie Choice: If you’re not a fan of Oreos or want to try something different, you can use chocolate graham crackers or any chocolate cookie you prefer. The key is to have a sturdy, sweet cookie that will hold up as the crust base.
- Butter Alternatives: For a dairy-free version, substitute the butter with coconut oil or a plant-based butter alternative. This will give your crust a slight coconut flavor that complements the chocolate perfectly.
For the Chocolate Cheesecake Filling:
- 24 oz (678g) cream cheese, room temperature
- 1/2 cup (104g) sugar
- 3 tbsp (21g) natural unsweetened cocoa powder
- 8 oz semi-sweet chocolate, melted
- 1 1/4 cups (300ml) heavy whipping cream, cold
- 3/4 cup (86g) powdered sugar
- 1 tsp vanilla extract
Alternative Suggestions:
- Dairy-Free Alternatives: You can easily substitute the cream cheese for vegan cream cheese and the heavy whipping cream for coconut cream if you’re looking for a dairy-free version. These alternatives work beautifully in the recipe without compromising flavor or texture.
- Sweetness Level: If you prefer a sweeter filling, feel free to add a little more powdered sugar to the filling. You can taste as you go to ensure it reaches the level of sweetness you enjoy.
For the Whipped Cream Topping:
- 1 cup (240ml) heavy whipping cream, cold
- 1/2 cup (58g) powdered sugar
- 1 tsp vanilla extract
- Desired toppings (chocolate shavings, fresh fruit, mini chocolate chips, sprinkles, etc.)
Alternative Suggestions:
- Non-Dairy Whipped Cream: For those who avoid dairy, you can whip up some coconut cream or use a store-bought non-dairy whipped cream. Both options will give you a creamy and light topping that complements the rich cheesecake.
Instructions
For the Oreo Crust:
- Begin by lining the bottom of a 9-inch (23cm) springform pan with parchment paper. Grease the sides of the pan with cooking spray or a little butter to make sure the cheesecake can be easily removed later.
- In a small bowl, combine the crushed Oreo cookies and melted butter. Stir until the cookie crumbs are completely coated with butter, creating a wet sand-like texture.
- Press the mixture firmly into the bottom of the springform pan. Use the back of a spoon to press it down tightly. If you want the crust to go up the sides of the pan, continue pressing the crumbs up about halfway up the sides of the pan for a beautiful crust that frames the cheesecake filling.
- Place the crust in the fridge to chill while you make the filling. This helps the crust firm up and become more solid.
For the Chocolate Cheesecake Filling:
- In a large mixing bowl, beat together the cream cheese, sugar, and cocoa powder using a hand mixer or stand mixer. Beat until the mixture is smooth and creamy with no lumps. This creates the base for the filling.
- Add the melted semi-sweet chocolate to the cream cheese mixture and continue mixing until fully incorporated. The melted chocolate should be cooled slightly before adding to the mixture to avoid curdling the cream cheese.
- In a separate bowl, whip the cold heavy whipping cream with the powdered sugar and vanilla extract until stiff peaks form. You can test this by lifting the beaters—if the whipped cream holds its shape and doesn’t collapse, it’s ready.
- Carefully fold the whipped cream into the cream cheese mixture. Be gentle to avoid deflating the whipped cream, which will help keep the filling light and airy. Mix until everything is well incorporated and smooth.
- Spoon the chocolate cheesecake filling into the prepared Oreo crust. Spread it evenly with a spatula to ensure the top is flat and smooth.
- Refrigerate the cheesecake for at least 5-6 hours, or overnight if possible. The cheesecake needs time to set and firm up, so be patient! This is the hardest part, but it’s worth the wait.
For the Whipped Cream Topping:
- After the cheesecake has set, prepare the whipped cream topping. In a mixing bowl, whip the cold heavy whipping cream with powdered sugar and vanilla extract until stiff peaks form, just like you did for the filling.
- Once your cheesecake is firm, remove it from the springform pan and set it on a serving platter. Pipe or spread the whipped cream around the edge of the cheesecake to create a beautiful border.
- Top the cheesecake with your favorite toppings—chocolate shavings, mini chocolate chips, fresh fruit, or even sprinkles. The possibilities are endless!
Notes
- Room Temperature Cream Cheese: Always ensure your cream cheese is at room temperature before using it. Cold cream cheese can result in a lumpy mixture, which can affect the texture of the cheesecake.
- Whipping the Cream: When whipping the heavy cream, be careful not to overwhip it. You want stiff peaks, but if you go too far, the whipped cream could become grainy or even turn into butter.
- Chill Time is Crucial: Don’t skip the chill time. If you try to cut into the cheesecake too soon, it may not hold its shape. The longer it sits in the fridge, the better it will be!
- Crust Tips: If your crust is not sticking together well, you can always add a little more melted butter to help it bind. It should press together easily and stay intact when you remove it from the pan.
- Prep Time: 45 minutes
- Cook Time: 0 minutes
- Category: Dessert
- Method: No-Bake
- Cuisine: American
- Diet: Vegetarian
What makes this cheesecake even better is how beginner-friendly it is. If you’re just starting out in the kitchen or looking for a no-stress dessert to add to your repertoire, this recipe is ideal. You don’t need any special skills or equipment—just a few basic ingredients and a bit of time in the fridge to let everything set. With a rich chocolate filling, a simple Oreo crust, and an airy whipped cream topping, it’s the perfect dessert for impressing guests, treating yourself, or serving at special occasions.
In this article, I’m going to walk you through every step of the process, offer helpful tips, and show you how to make this decadent no-bake chocolate cheesecake. Whether you’re making it for a holiday, a birthday, or just a treat for yourself, this cheesecake will surely become a favorite in your kitchen.
Ingredients and Preparation
Let’s start with the ingredients! This no-bake chocolate cheesecake is made up of three main parts: the crust, the chocolate cheesecake filling, and the whipped cream topping. Below, I’ll break down the ingredients for each part and suggest some substitutions in case you want to make any adjustments based on dietary preferences or what you have on hand.
For the Oreo Crust:
- 2 3/4 cups (369g) Oreo cookie crumbs (about 31 Oreos)
- 5 tbsp (70g) butter (salted or unsalted), melted
Alternative Suggestions:
- Cookie Choice: If you’re not a fan of Oreos or want to try something different, you can use chocolate graham crackers or any chocolate cookie you prefer. The key is to have a sturdy, sweet cookie that will hold up as the crust base.
- Butter Alternatives: For a dairy-free version, substitute the butter with coconut oil or a plant-based butter alternative. This will give your crust a slight coconut flavor that complements the chocolate perfectly.
For the Chocolate Cheesecake Filling:
- 24 oz (678g) cream cheese, room temperature
- 1/2 cup (104g) sugar
- 3 tbsp (21g) natural unsweetened cocoa powder
- 8 oz semi-sweet chocolate, melted
- 1 1/4 cups (300ml) heavy whipping cream, cold
- 3/4 cup (86g) powdered sugar
- 1 tsp vanilla extract
Alternative Suggestions:
- Dairy-Free Alternatives: You can easily substitute the cream cheese for vegan cream cheese and the heavy whipping cream for coconut cream if you’re looking for a dairy-free version. These alternatives work beautifully in the recipe without compromising flavor or texture.
- Sweetness Level: If you prefer a sweeter filling, feel free to add a little more powdered sugar to the filling. You can taste as you go to ensure it reaches the level of sweetness you enjoy.
For the Whipped Cream Topping:
- 1 cup (240ml) heavy whipping cream, cold
- 1/2 cup (58g) powdered sugar
- 1 tsp vanilla extract
- Desired toppings (chocolate shavings, fresh fruit, mini chocolate chips, sprinkles, etc.)
Alternative Suggestions:
- Non-Dairy Whipped Cream: For those who avoid dairy, you can whip up some coconut cream or use a store-bought non-dairy whipped cream. Both options will give you a creamy and light topping that complements the rich cheesecake.
Step-by-Step Instructions
Now that you’ve got your ingredients ready, let’s break down the steps for making this no-bake cheesecake. This process is very beginner-friendly, and you can easily follow along. The key to this recipe is patience, so don’t rush!
For the Oreo Crust:
- Begin by lining the bottom of a 9-inch (23cm) springform pan with parchment paper. Grease the sides of the pan with cooking spray or a little butter to make sure the cheesecake can be easily removed later.
- In a small bowl, combine the crushed Oreo cookies and melted butter. Stir until the cookie crumbs are completely coated with butter, creating a wet sand-like texture.
- Press the mixture firmly into the bottom of the springform pan. Use the back of a spoon to press it down tightly. If you want the crust to go up the sides of the pan, continue pressing the crumbs up about halfway up the sides of the pan for a beautiful crust that frames the cheesecake filling.
- Place the crust in the fridge to chill while you make the filling. This helps the crust firm up and become more solid.
For the Chocolate Cheesecake Filling:
- In a large mixing bowl, beat together the cream cheese, sugar, and cocoa powder using a hand mixer or stand mixer. Beat until the mixture is smooth and creamy with no lumps. This creates the base for the filling.
- Add the melted semi-sweet chocolate to the cream cheese mixture and continue mixing until fully incorporated. The melted chocolate should be cooled slightly before adding to the mixture to avoid curdling the cream cheese.
- In a separate bowl, whip the cold heavy whipping cream with the powdered sugar and vanilla extract until stiff peaks form. You can test this by lifting the beaters—if the whipped cream holds its shape and doesn’t collapse, it’s ready.
- Carefully fold the whipped cream into the cream cheese mixture. Be gentle to avoid deflating the whipped cream, which will help keep the filling light and airy. Mix until everything is well incorporated and smooth.
- Spoon the chocolate cheesecake filling into the prepared Oreo crust. Spread it evenly with a spatula to ensure the top is flat and smooth.
- Refrigerate the cheesecake for at least 5-6 hours, or overnight if possible. The cheesecake needs time to set and firm up, so be patient! This is the hardest part, but it’s worth the wait.
For the Whipped Cream Topping:
- After the cheesecake has set, prepare the whipped cream topping. In a mixing bowl, whip the cold heavy whipping cream with powdered sugar and vanilla extract until stiff peaks form, just like you did for the filling.
- Once your cheesecake is firm, remove it from the springform pan and set it on a serving platter. Pipe or spread the whipped cream around the edge of the cheesecake to create a beautiful border.
- Top the cheesecake with your favorite toppings—chocolate shavings, mini chocolate chips, fresh fruit, or even sprinkles. The possibilities are endless!
Beginner Tips and Notes
Here are some helpful tips to make sure your no-bake chocolate cheesecake turns out perfectly:
- Room Temperature Cream Cheese: Always ensure your cream cheese is at room temperature before using it. Cold cream cheese can result in a lumpy mixture, which can affect the texture of the cheesecake.
- Whipping the Cream: When whipping the heavy cream, be careful not to overwhip it. You want stiff peaks, but if you go too far, the whipped cream could become grainy or even turn into butter.
- Chill Time is Crucial: Don’t skip the chill time. If you try to cut into the cheesecake too soon, it may not hold its shape. The longer it sits in the fridge, the better it will be!
- Crust Tips: If your crust is not sticking together well, you can always add a little more melted butter to help it bind. It should press together easily and stay intact when you remove it from the pan.
Serving Suggestions
This no-bake chocolate cheesecake is perfect on its own, but if you want to elevate the dessert further, here are a few serving suggestions:
- With Fresh Fruit: Serve it with fresh berries like raspberries, strawberries, or blueberries to balance the richness of the chocolate.
- Caramel or Chocolate Sauce: Drizzle caramel or chocolate sauce over the top for an added indulgence.
- With Ice Cream: A scoop of vanilla or chocolate ice cream pairs perfectly with this cheesecake for an extra creamy treat.
- Toppings Galore: Don’t forget about toppings! Chocolate shavings, mini chocolate chips, or even crushed Oreos make great additions.

Conclusion
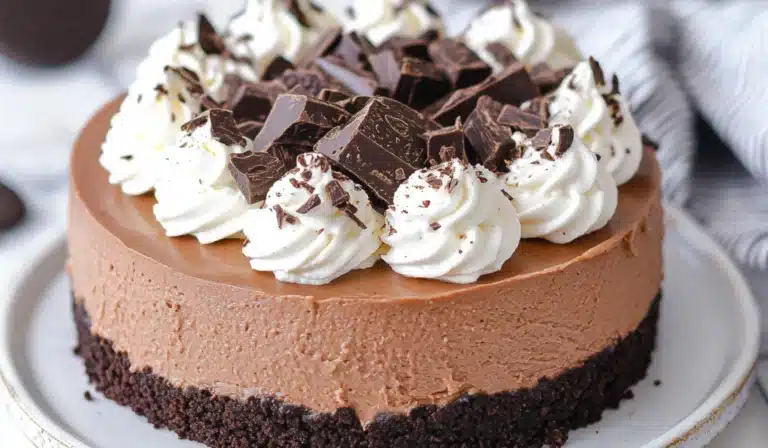
If you’ve been searching for a simple yet indulgent dessert, look no further than this Easy No-Bake Chocolate Cheesecake. With its rich chocolate filling, crunchy Oreo crust, and fluffy whipped cream topping, it’s a treat that will impress any guest and satisfy your sweet tooth. The best part? You don’t need any baking experience to make it! Just follow these simple steps, and you’ll have a dessert that looks like it took hours of effort. It’s a crowd-pleaser that’s perfect for any occasion, from birthdays to holidays or even just a special treat for yourself.
Give it a try, and let me know how it turns out! Don’t forget to share your cheesecake photos and experiences in the comments below—I’d love to see how you personalize it. Happy baking (or rather, chilling)!


